·5/7/2026
from

🍕 Neapolitan Pizza from Scratch — Step-by-Step Process Post
How to Make a Real Neapolitan Pizza at Home — Every Single Step (9 Photos)
Most people think great pizza comes from a restaurant oven. They're half right.
The truth? Great pizza comes from understanding the dough. The right flour. The right fermentation. The right heat.
Here's exactly how I made this Neapolitan-style pizza — from raw ingredients to a leopard-charred masterpiece, step by step. 🍕
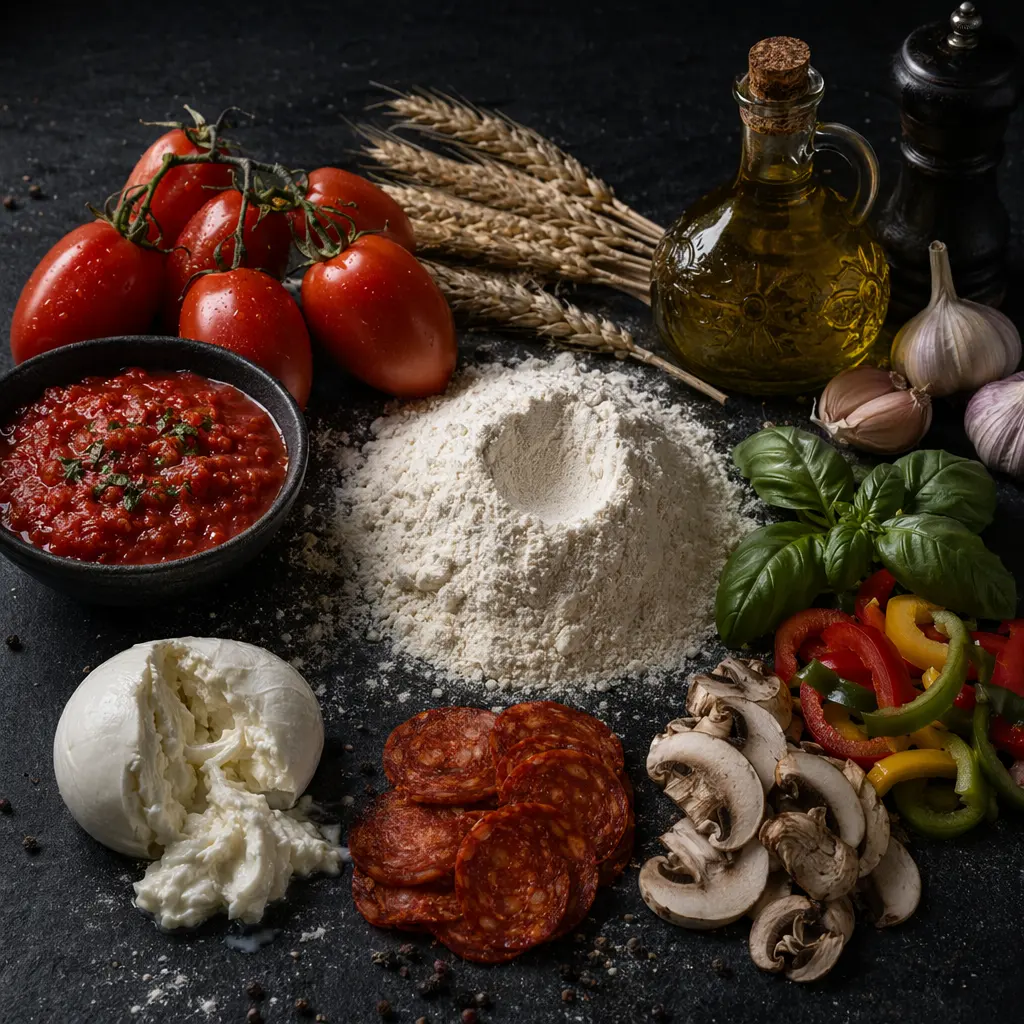
📸 Photo 1
"00"flour. Water. Instant yeast. Fine sea salt. San Marzano tomatoes. Buffalo mozzarella. Italian pepperoni. Mushrooms. Fresh basil. That is the entire ingredient list. One rule on the flour: use "00" (doppio zero) — it's finely milled, low in ash, and creates a dough that stretches without tearing. All-purpose will work in a pinch, but "00" is the difference between good and unforgettable. One rule on the cheese: fresh buffalo mozzarella over shredded every time. It melts unevenly, pools into creamy pockets, and tastes like Campania.
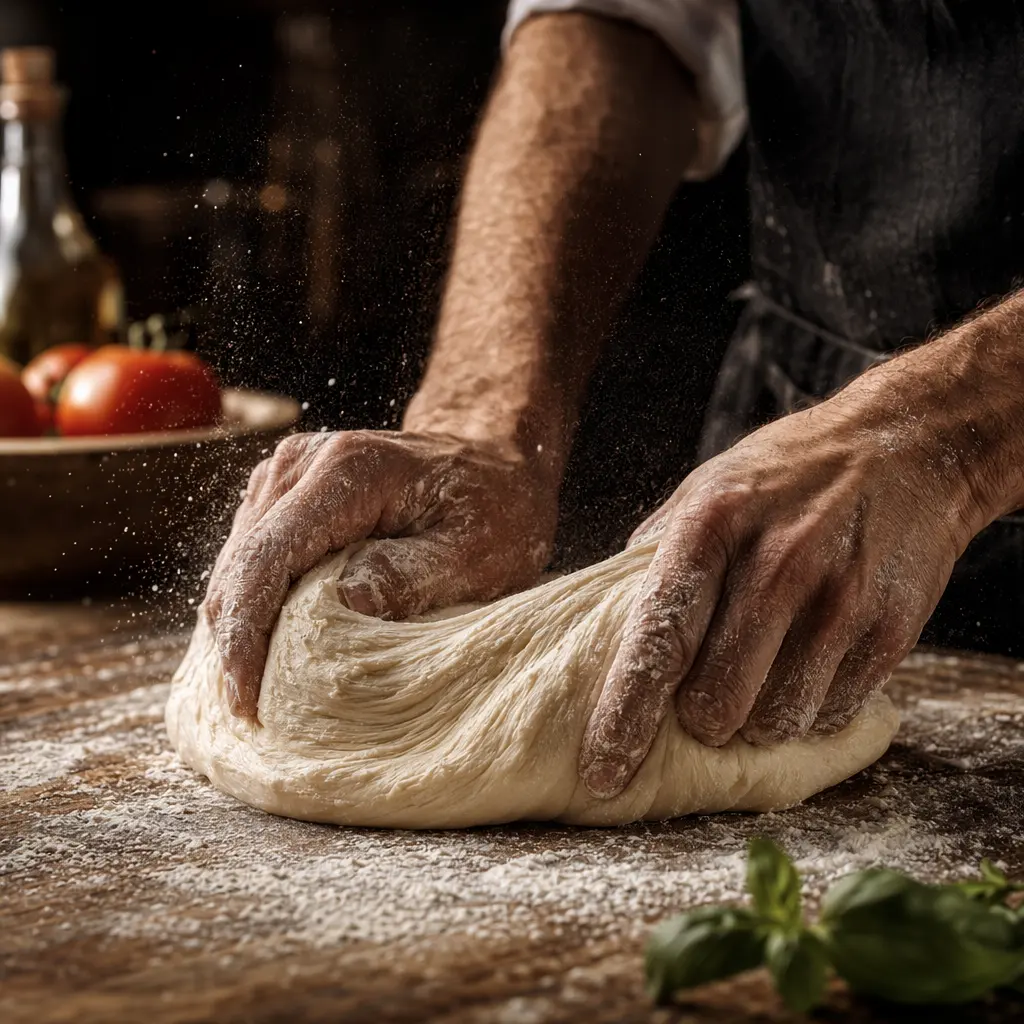
📸 Photo 2
Mix flour, water, yeast, and salt. Then knead for 10 full minutes. This isn't optional — kneading develops gluten, which gives the dough its stretch and chew. You'll feel it transform under your hands: sticky and rough at first, then smooth and elastic, almost silk-like. The windowpane test: stretch a small piece thin enough to see light through without it tearing. If it tears, keep kneading. Ball the dough, cover it, and let it cold-ferment in the fridge for 24–72 hours. This slow rise builds the complex flavor that makes Neapolitan dough taste like nothing else.
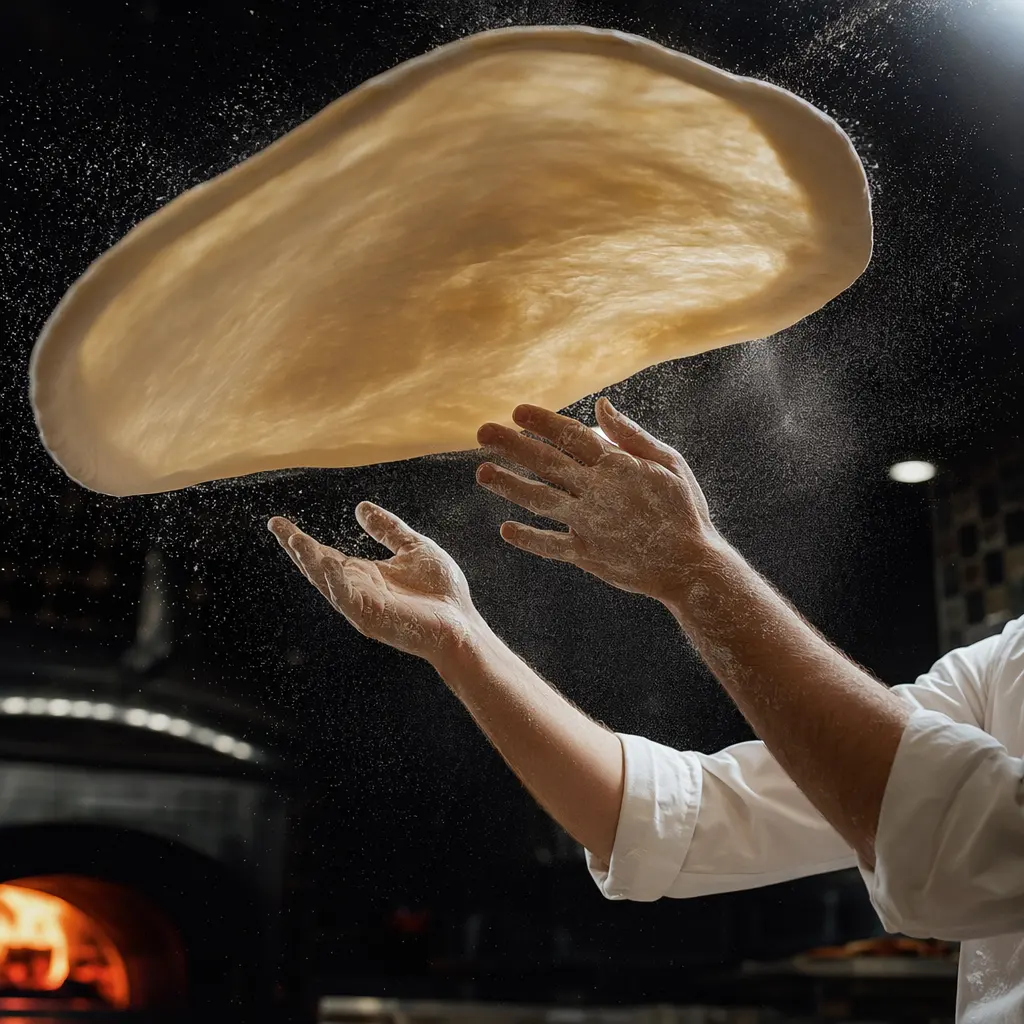
📸 Photo 3
Take the cold dough out 2 hours before baking. Let it come to room temperature. Then — the most satisfying part of the whole process — stretch it by hand and toss it in the air. Do not use a rolling pin. A rolling pin presses out the air bubbles you spent 48 hours building. Use your knuckles to gently stretch from the inside out, rotating as you go. The dough should be translucent at the center, thick at the edges. Those thick edges will become the cornicione — the charred, blistered crust that defines true Neapolitan pizza. Toss it once for the photo. Then stop showing off and lay it flat.
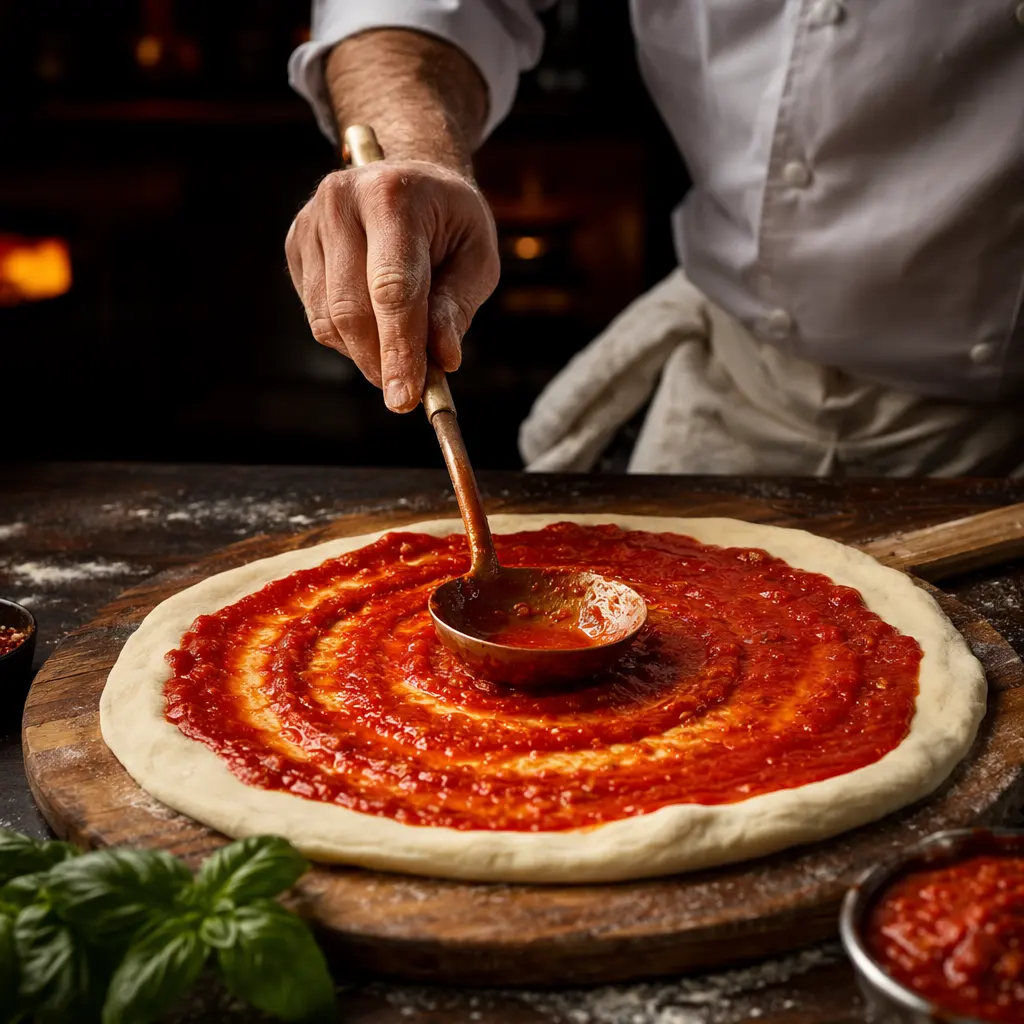
📸 Photo 4
Open a can of San Marzano tomatoes. Crush them by hand. Add a pinch of salt and a few torn basil leaves. That's the sauce. No cooking. No garlic. No oregano. Nothing. Spoon it onto the stretched dough and spread it in wide, confident spirals from center to edge — leaving 2–3cm of bare dough for the crust. Use a ladle or the back of a spoon. One slow, circular motion. Don't over-sauce. A soggy pizza is a sad pizza. Less is always more.
📸 Photo 5
Tear the buffalo mozzarella into rough pieces and scatter them across the sauce. Don't place them too neatly — irregular coverage melts better and looks more authentic. Add your pepperoni, mushrooms, and olives. Tuck a few fresh basil leaves underneath the toppings so they steam gently rather than burn. The golden rule of pizza toppings: restraint. Every ingredient should be able to breathe. Piled-high toppings create steam and prevent the base from crisping. Choose three or four things you love and do them well.
📸 Photo 6
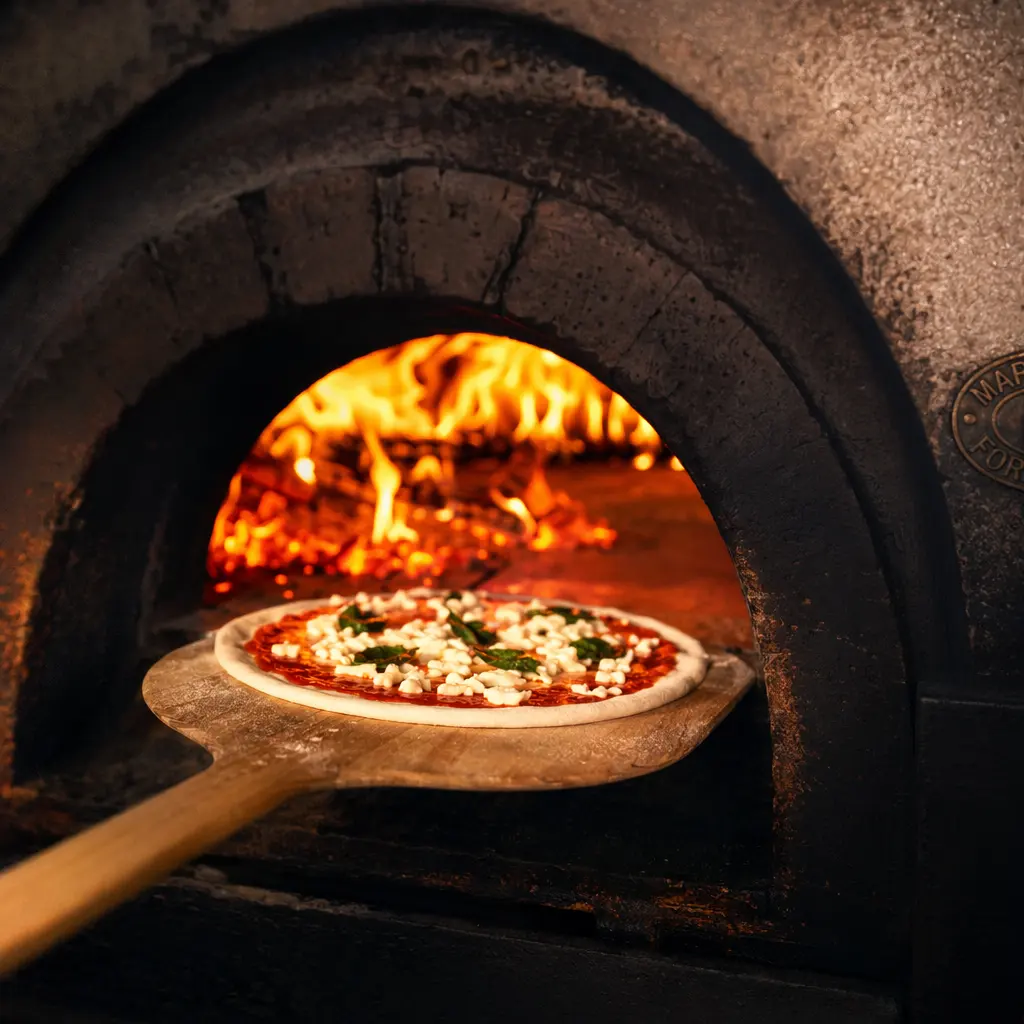
Slide the pizza into your oven on the lowest rack, on a preheated pizza stone or the hottest baking sheet you own. Temperature is everything. A wood-fired Neapolitan oven hits 450–500°C and cooks a pizza in 90 seconds. Your home oven maxes at 250°C — so preheat it for at least 45 minutes with the stone inside. The hotter, the better. Crank it to maximum. Broil for the last 2 minutes if you can. You're chasing the leopard spots — those black blisters on the cornicione that are the hallmark of a properly made Neapolitan pizza. Watch it. Don't walk away. It can go from perfect to burned in 60 seconds.
📸 Photo 7
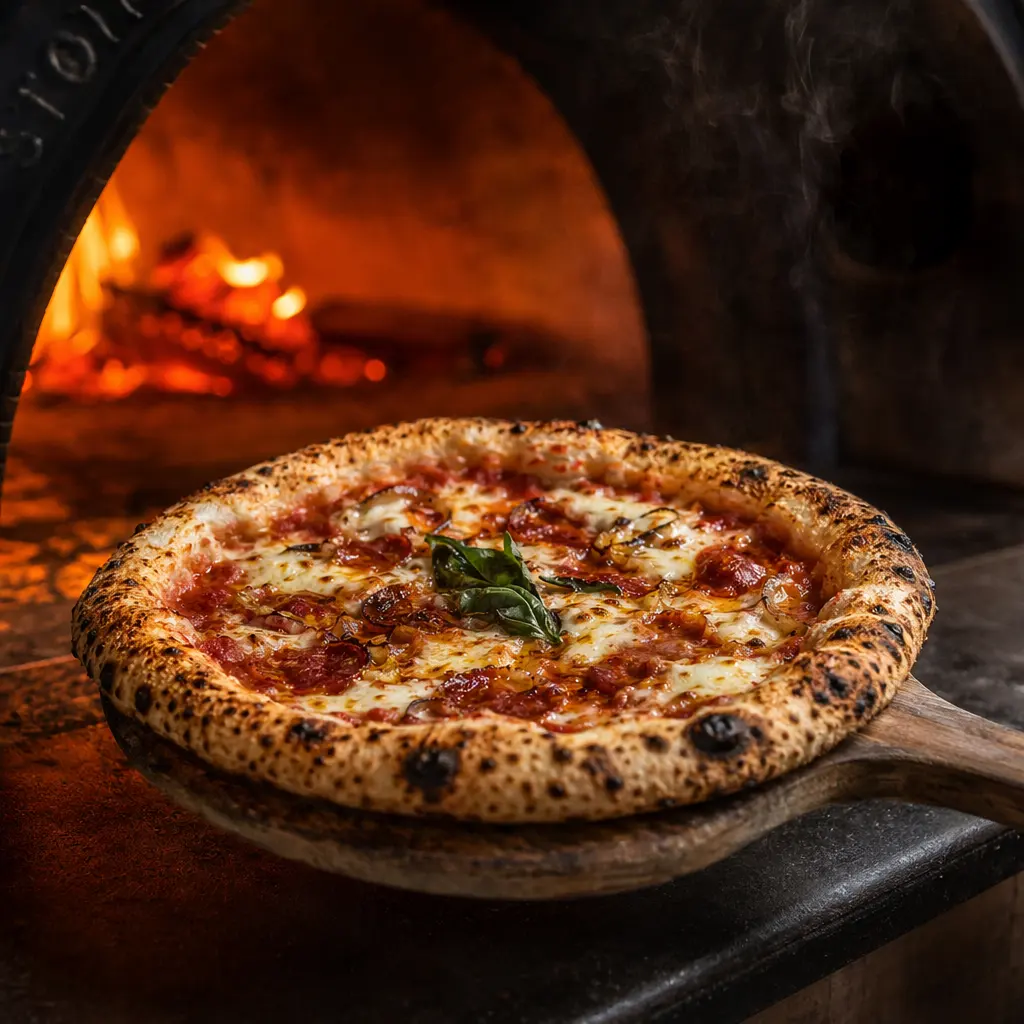
Slide it out on a wooden peel or the back of a baking sheet. Look at those edges — blistered, charred in spots, golden and puffed where the fire hit. The base should be crisp when you tap it, not soft. If it's soft, it needed more heat or more time. Let it rest for 60 seconds before you cut. The cheese is still liquid inside — give it a moment to set, or your first slice will be a mess. Scatter a few fresh basil leaves now. They'll wilt gently from the residual heat and turn vivid green.
📸 Photo 8
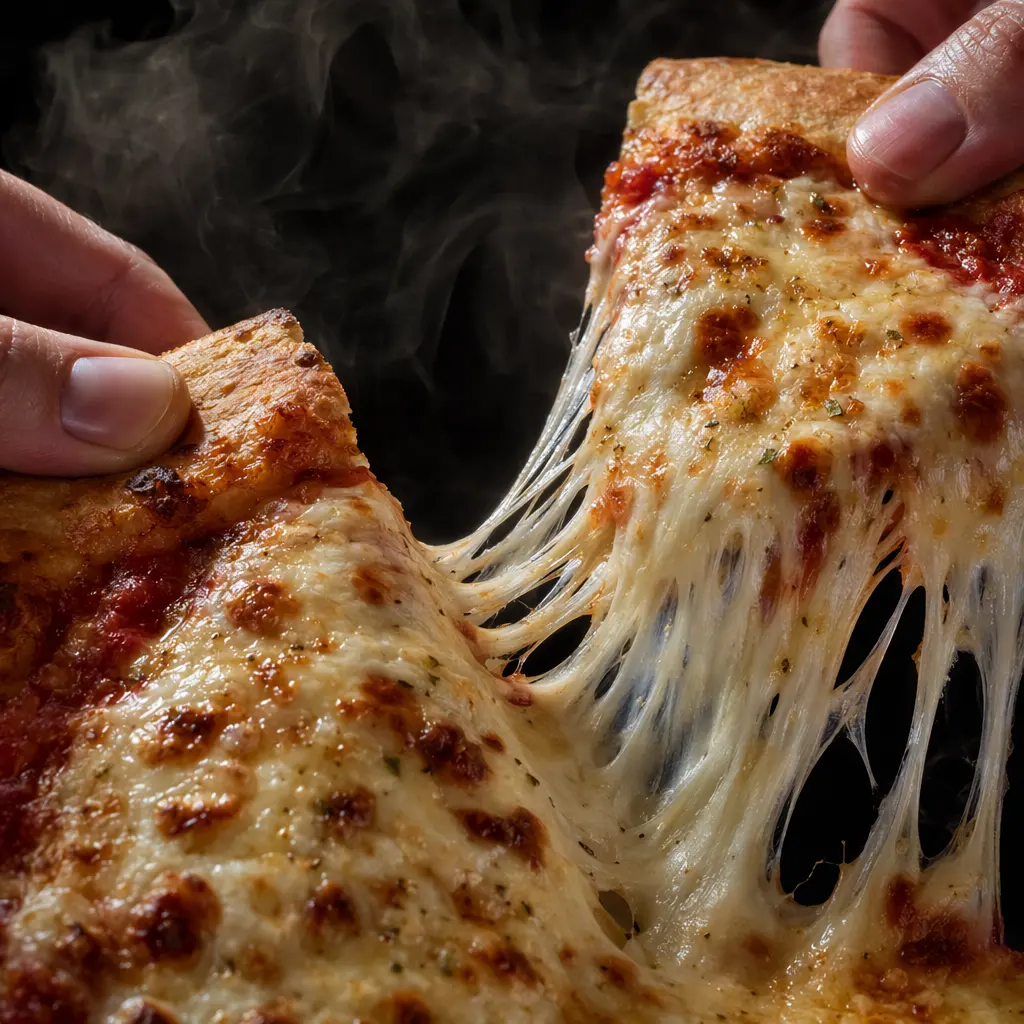
This is the moment every pizza post lives or dies by. Lift a slice. Watch the mozzarella stretch into long, molten threads. The steam rising. The cheese still bubbling at the edges. The pull that never quite breaks cleanly. This is why you used fresh mozzarella. Pre-shredded cheese contains anti-caking agents that prevent it from stretching like this. It melts, but it doesn't pull. There's a difference, and you can see it. Take your time with this shot. It's worth it.
📸 Photo 9
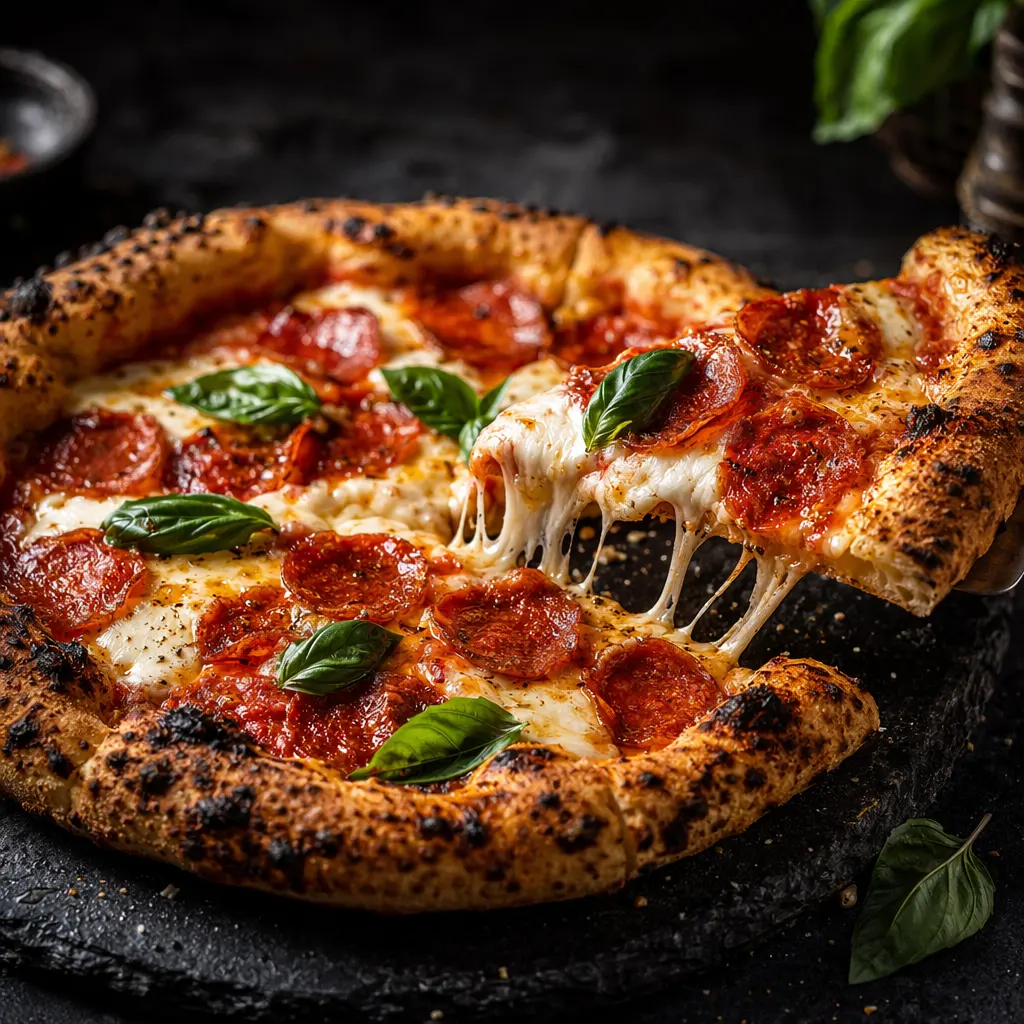
Cut it into 6 or 8 slices with a rolling cutter or a sharp chef's knife — one decisive motion per cut. Fan one slice up
What's your go-to pizza topping combination? Drop it below — Margherita 🍅 / Pepperoni 🌶️ / Truffle & Mushroom 🍄 / Full
Most people think great pizza comes from a restaurant oven. They're half right.
The truth? Great pizza comes from understanding the dough. The right flour. The right fermentation. The right heat.
Here's exactly how I made this Neapolitan-style pizza — from raw ingredients to a leopard-charred masterpiece, step by step. 🍕
📸 Photo 1
"00"flour. Water. Instant yeast. Fine sea salt. San Marzano tomatoes. Buffalo mozzarella. Italian pepperoni. Mushrooms. Fresh basil. That is the entire ingredient list. One rule on the flour: use "00" (doppio zero) — it's finely milled, low in ash, and creates a dough that stretches without tearing. All-purpose will work in a pinch, but "00" is the difference between good and unforgettable. One rule on the cheese: fresh buffalo mozzarella over shredded every time. It melts unevenly, pools into creamy pockets, and tastes like Campania.
📸 Photo 2
Mix flour, water, yeast, and salt. Then knead for 10 full minutes. This isn't optional — kneading develops gluten, which gives the dough its stretch and chew. You'll feel it transform under your hands: sticky and rough at first, then smooth and elastic, almost silk-like. The windowpane test: stretch a small piece thin enough to see light through without it tearing. If it tears, keep kneading. Ball the dough, cover it, and let it cold-ferment in the fridge for 24–72 hours. This slow rise builds the complex flavor that makes Neapolitan dough taste like nothing else.
📸 Photo 3
Take the cold dough out 2 hours before baking. Let it come to room temperature. Then — the most satisfying part of the whole process — stretch it by hand and toss it in the air. Do not use a rolling pin. A rolling pin presses out the air bubbles you spent 48 hours building. Use your knuckles to gently stretch from the inside out, rotating as you go. The dough should be translucent at the center, thick at the edges. Those thick edges will become the cornicione — the charred, blistered crust that defines true Neapolitan pizza. Toss it once for the photo. Then stop showing off and lay it flat.
📸 Photo 4
Open a can of San Marzano tomatoes. Crush them by hand. Add a pinch of salt and a few torn basil leaves. That's the sauce. No cooking. No garlic. No oregano. Nothing. Spoon it onto the stretched dough and spread it in wide, confident spirals from center to edge — leaving 2–3cm of bare dough for the crust. Use a ladle or the back of a spoon. One slow, circular motion. Don't over-sauce. A soggy pizza is a sad pizza. Less is always more.
📸 Photo 5
Tear the buffalo mozzarella into rough pieces and scatter them across the sauce. Don't place them too neatly — irregular coverage melts better and looks more authentic. Add your pepperoni, mushrooms, and olives. Tuck a few fresh basil leaves underneath the toppings so they steam gently rather than burn. The golden rule of pizza toppings: restraint. Every ingredient should be able to breathe. Piled-high toppings create steam and prevent the base from crisping. Choose three or four things you love and do them well.
📸 Photo 6
Slide the pizza into your oven on the lowest rack, on a preheated pizza stone or the hottest baking sheet you own. Temperature is everything. A wood-fired Neapolitan oven hits 450–500°C and cooks a pizza in 90 seconds. Your home oven maxes at 250°C — so preheat it for at least 45 minutes with the stone inside. The hotter, the better. Crank it to maximum. Broil for the last 2 minutes if you can. You're chasing the leopard spots — those black blisters on the cornicione that are the hallmark of a properly made Neapolitan pizza. Watch it. Don't walk away. It can go from perfect to burned in 60 seconds.
📸 Photo 7
Slide it out on a wooden peel or the back of a baking sheet. Look at those edges — blistered, charred in spots, golden and puffed where the fire hit. The base should be crisp when you tap it, not soft. If it's soft, it needed more heat or more time. Let it rest for 60 seconds before you cut. The cheese is still liquid inside — give it a moment to set, or your first slice will be a mess. Scatter a few fresh basil leaves now. They'll wilt gently from the residual heat and turn vivid green.
📸 Photo 8
This is the moment every pizza post lives or dies by. Lift a slice. Watch the mozzarella stretch into long, molten threads. The steam rising. The cheese still bubbling at the edges. The pull that never quite breaks cleanly. This is why you used fresh mozzarella. Pre-shredded cheese contains anti-caking agents that prevent it from stretching like this. It melts, but it doesn't pull. There's a difference, and you can see it. Take your time with this shot. It's worth it.
📸 Photo 9
Cut it into 6 or 8 slices with a rolling cutter or a sharp chef's knife — one decisive motion per cut. Fan one slice up
What's your go-to pizza topping combination? Drop it below — Margherita 🍅 / Pepperoni 🌶️ / Truffle & Mushroom 🍄 / Full