·5/9/2026
from
Cold-Dressed Bracken Fern · Spring's Last Quiet Dish
# Cold-Dressed Bracken Fern · Spring's Last Quiet Dish
> No seasoning packet. No shortcut.
> Just wild fern from the hillside, a pot of boiling water,
> and a bowl of garlic, chili, and sesame oil.
> That's the whole recipe.
---
## 📸 1 · The Harvest
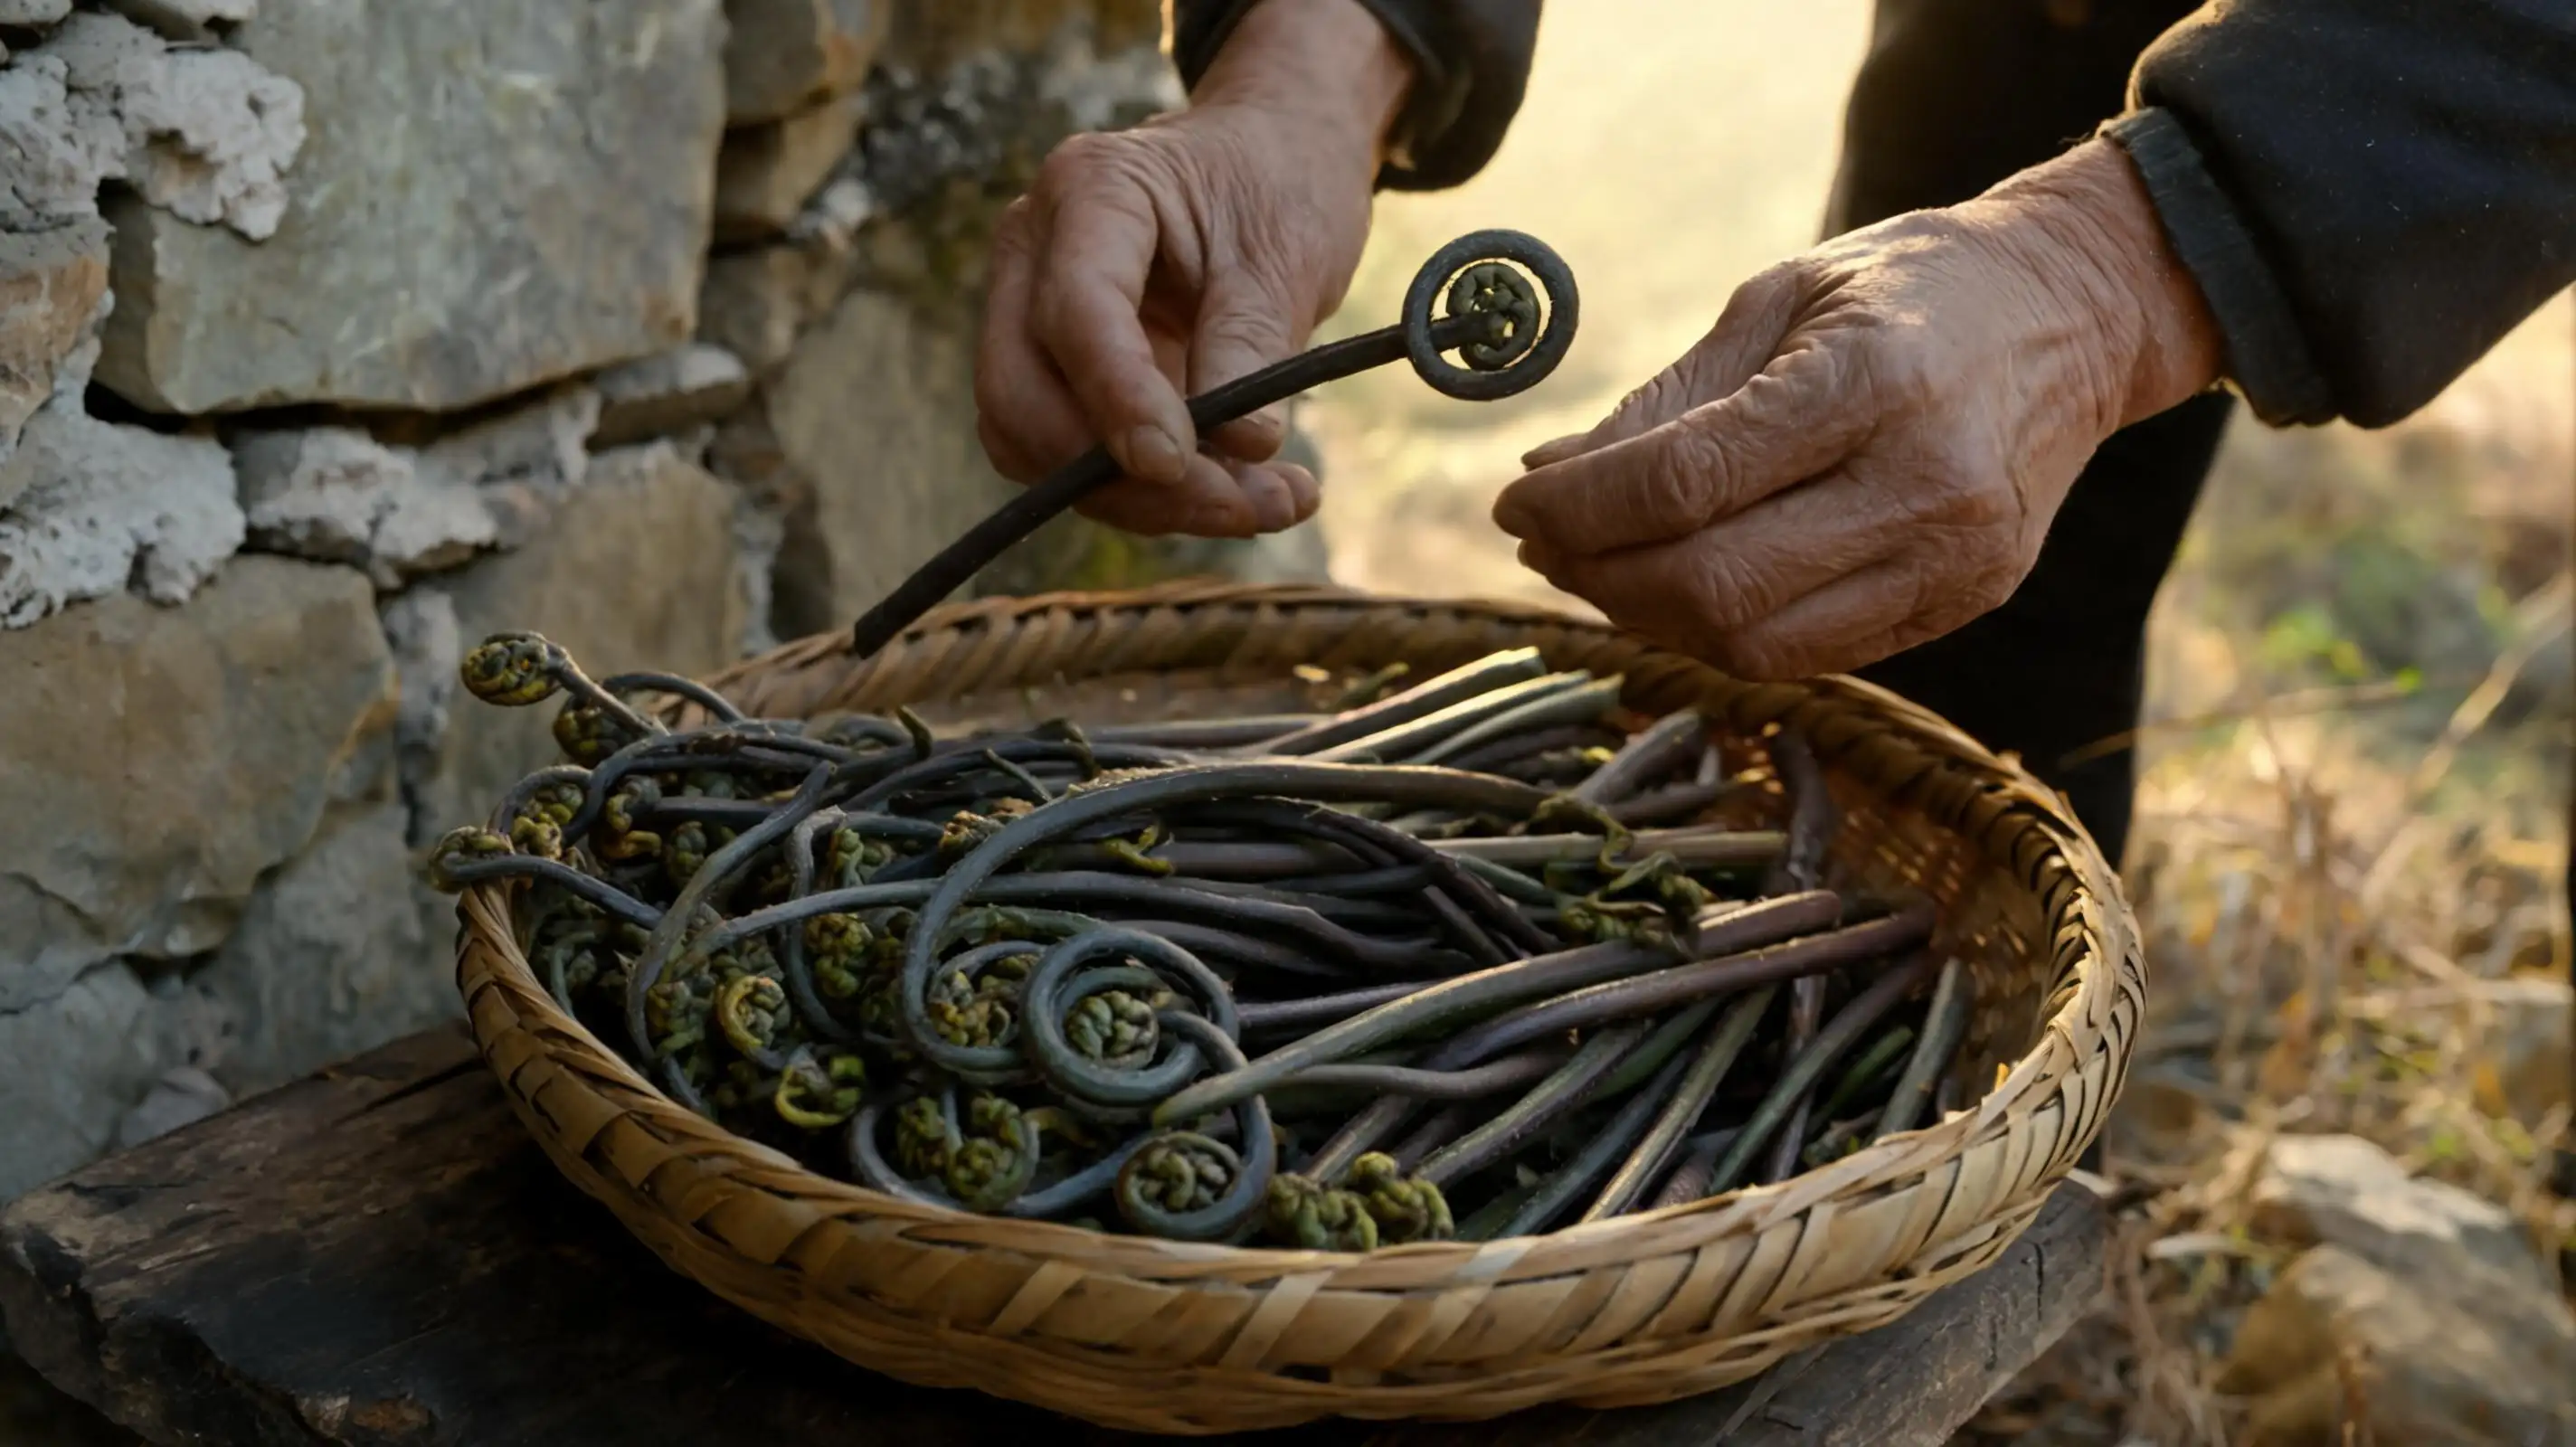
Only the tightly coiled fiddlehead tips — **dark purple-green stems, spiral curl unbroken, no more than 20 cm long.**
Snap them off with your thumbnail at the base of the tender shoot.
**Skip anything with a woody stem or fully open fronds.** They won't soften properly, and the texture turns stringy.
We climbed the hillside before breakfast.
The basket wasn't heavy — but the walk back always felt longer.
---
## 📸 2 · The Wash
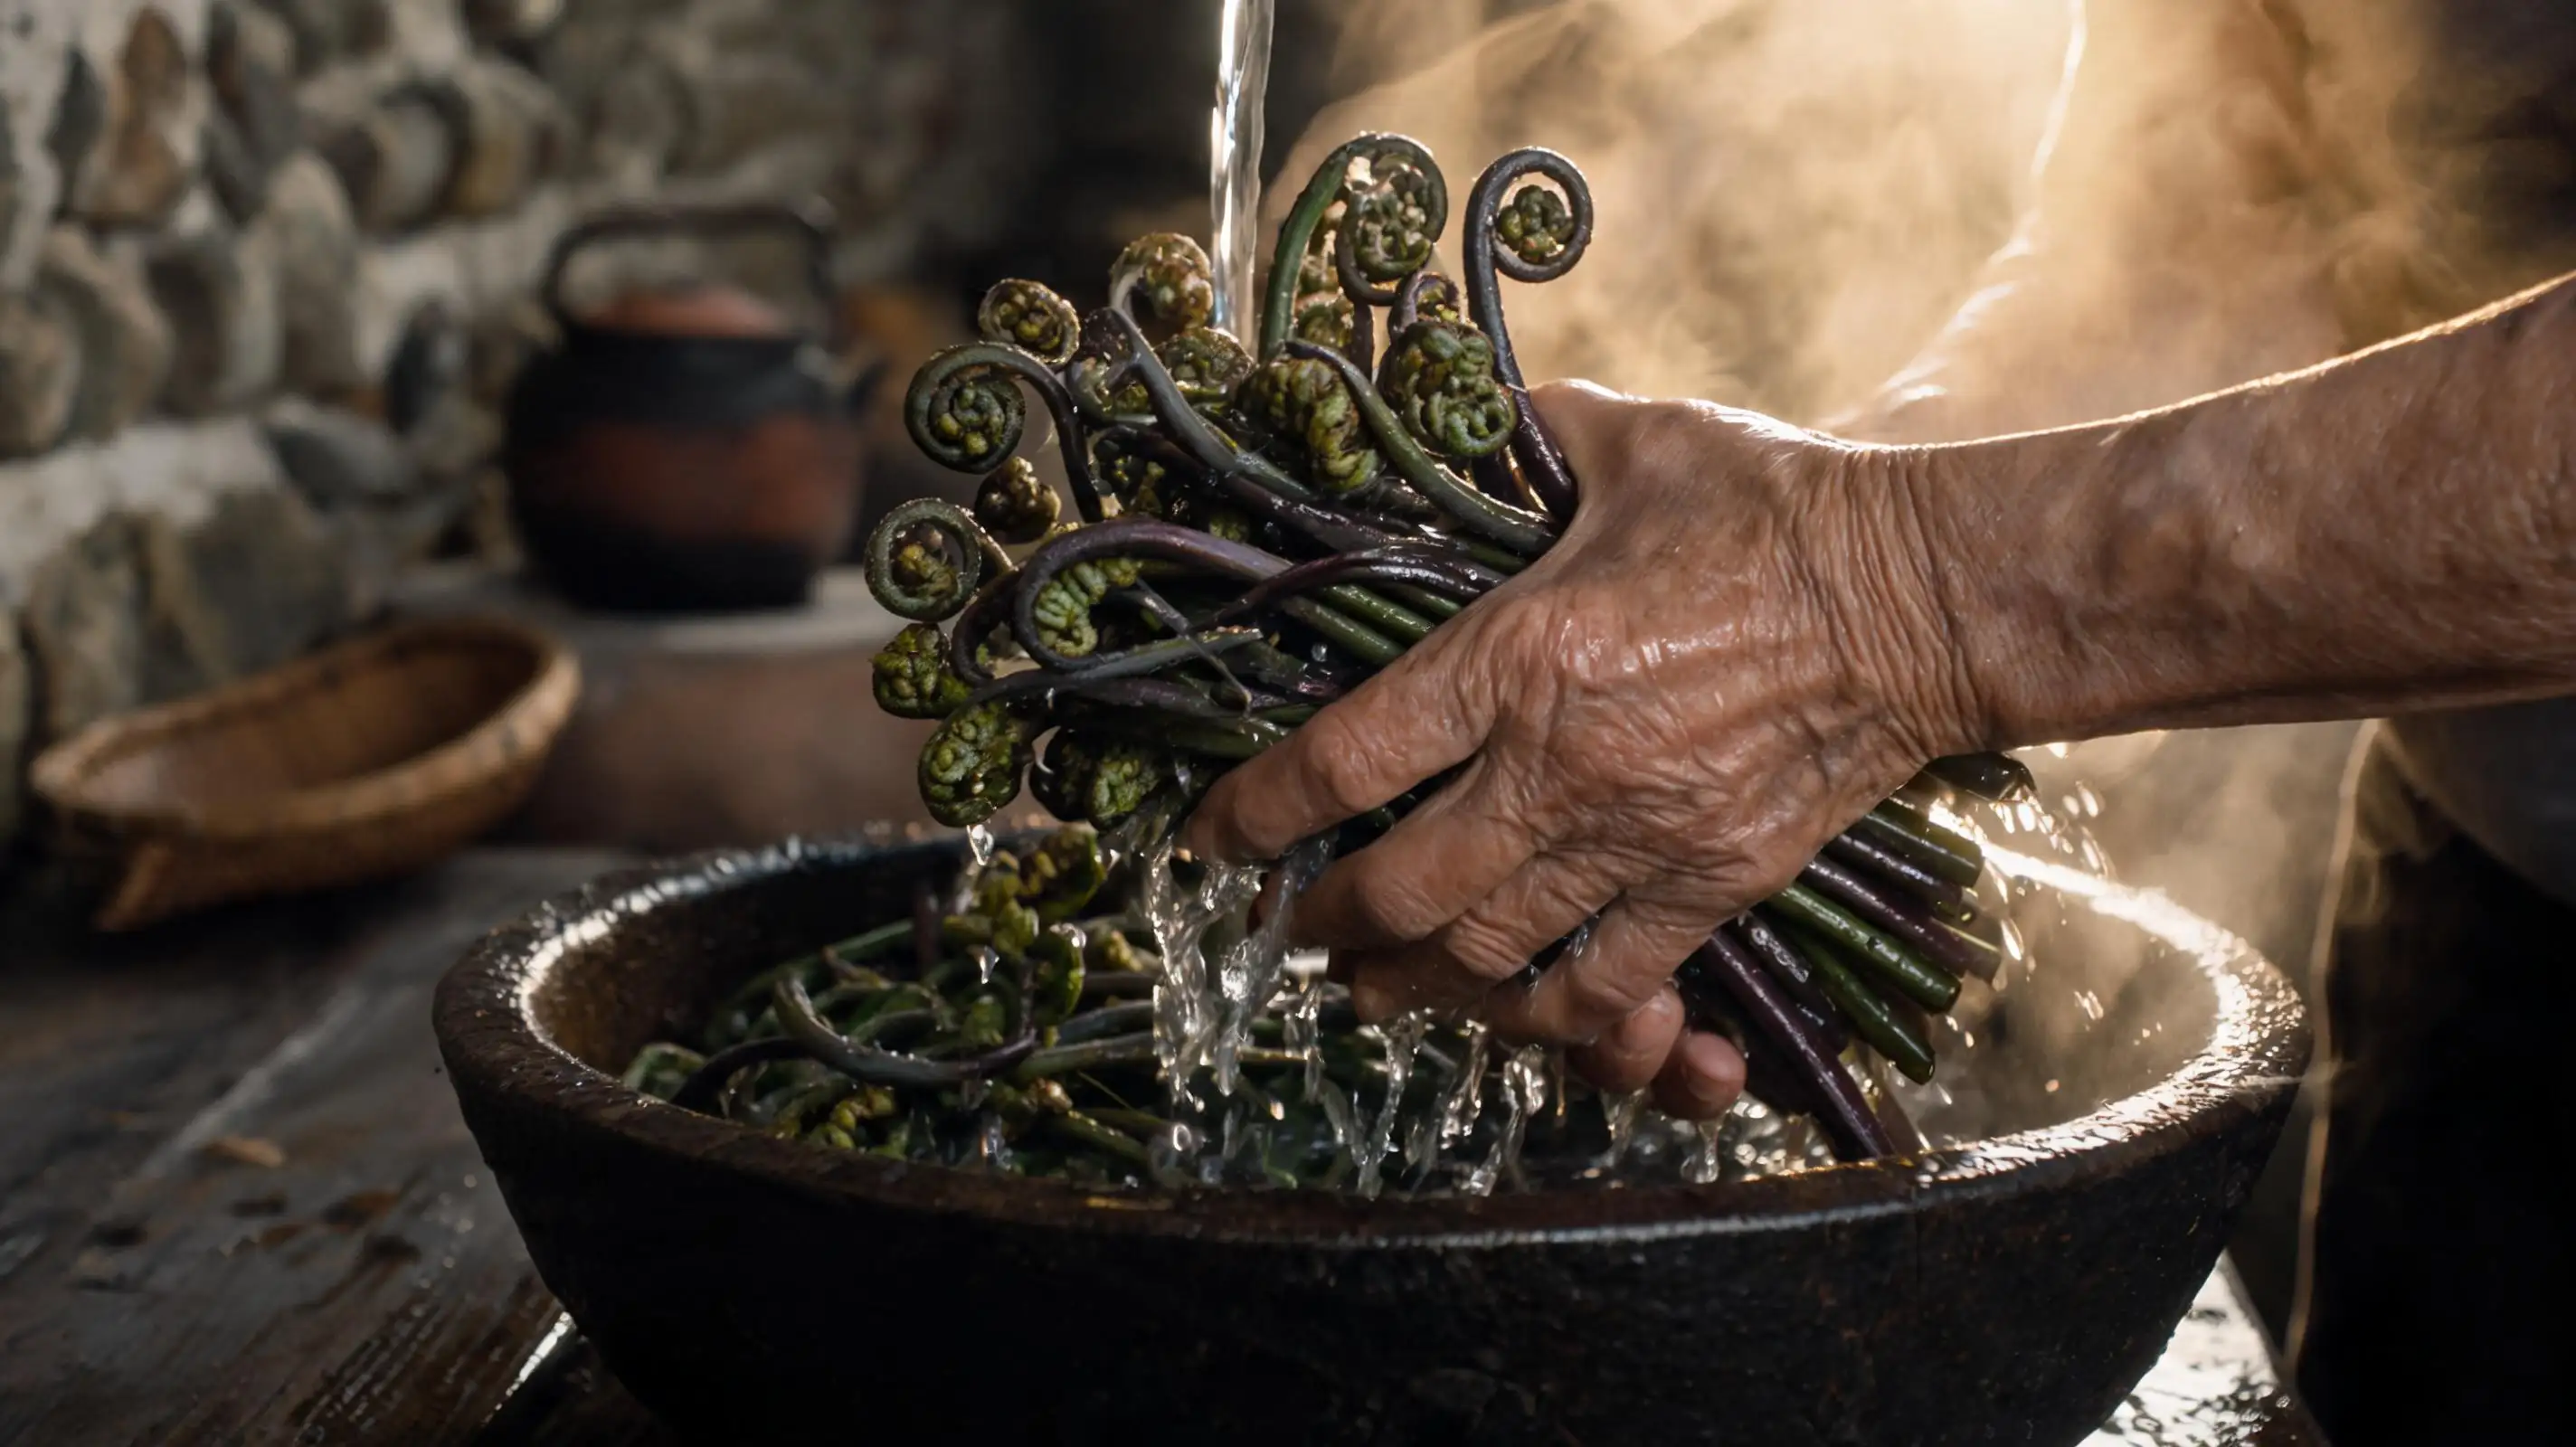
Bracken fern is covered in fine fuzz. It needs a real wash, not a rinse.
**Run cold water over the fern 2–3 times**, gently rubbing each bundle between your palms to dislodge dirt and debris.
Never use warm water — it wilts the leaves and dulls the color before you even start cooking.
Stop when the water runs completely clear.
Cold well water. Every time.
*You washed them right, or you didn't respect what you picked.*
---
## 📸 3 · The Blanch
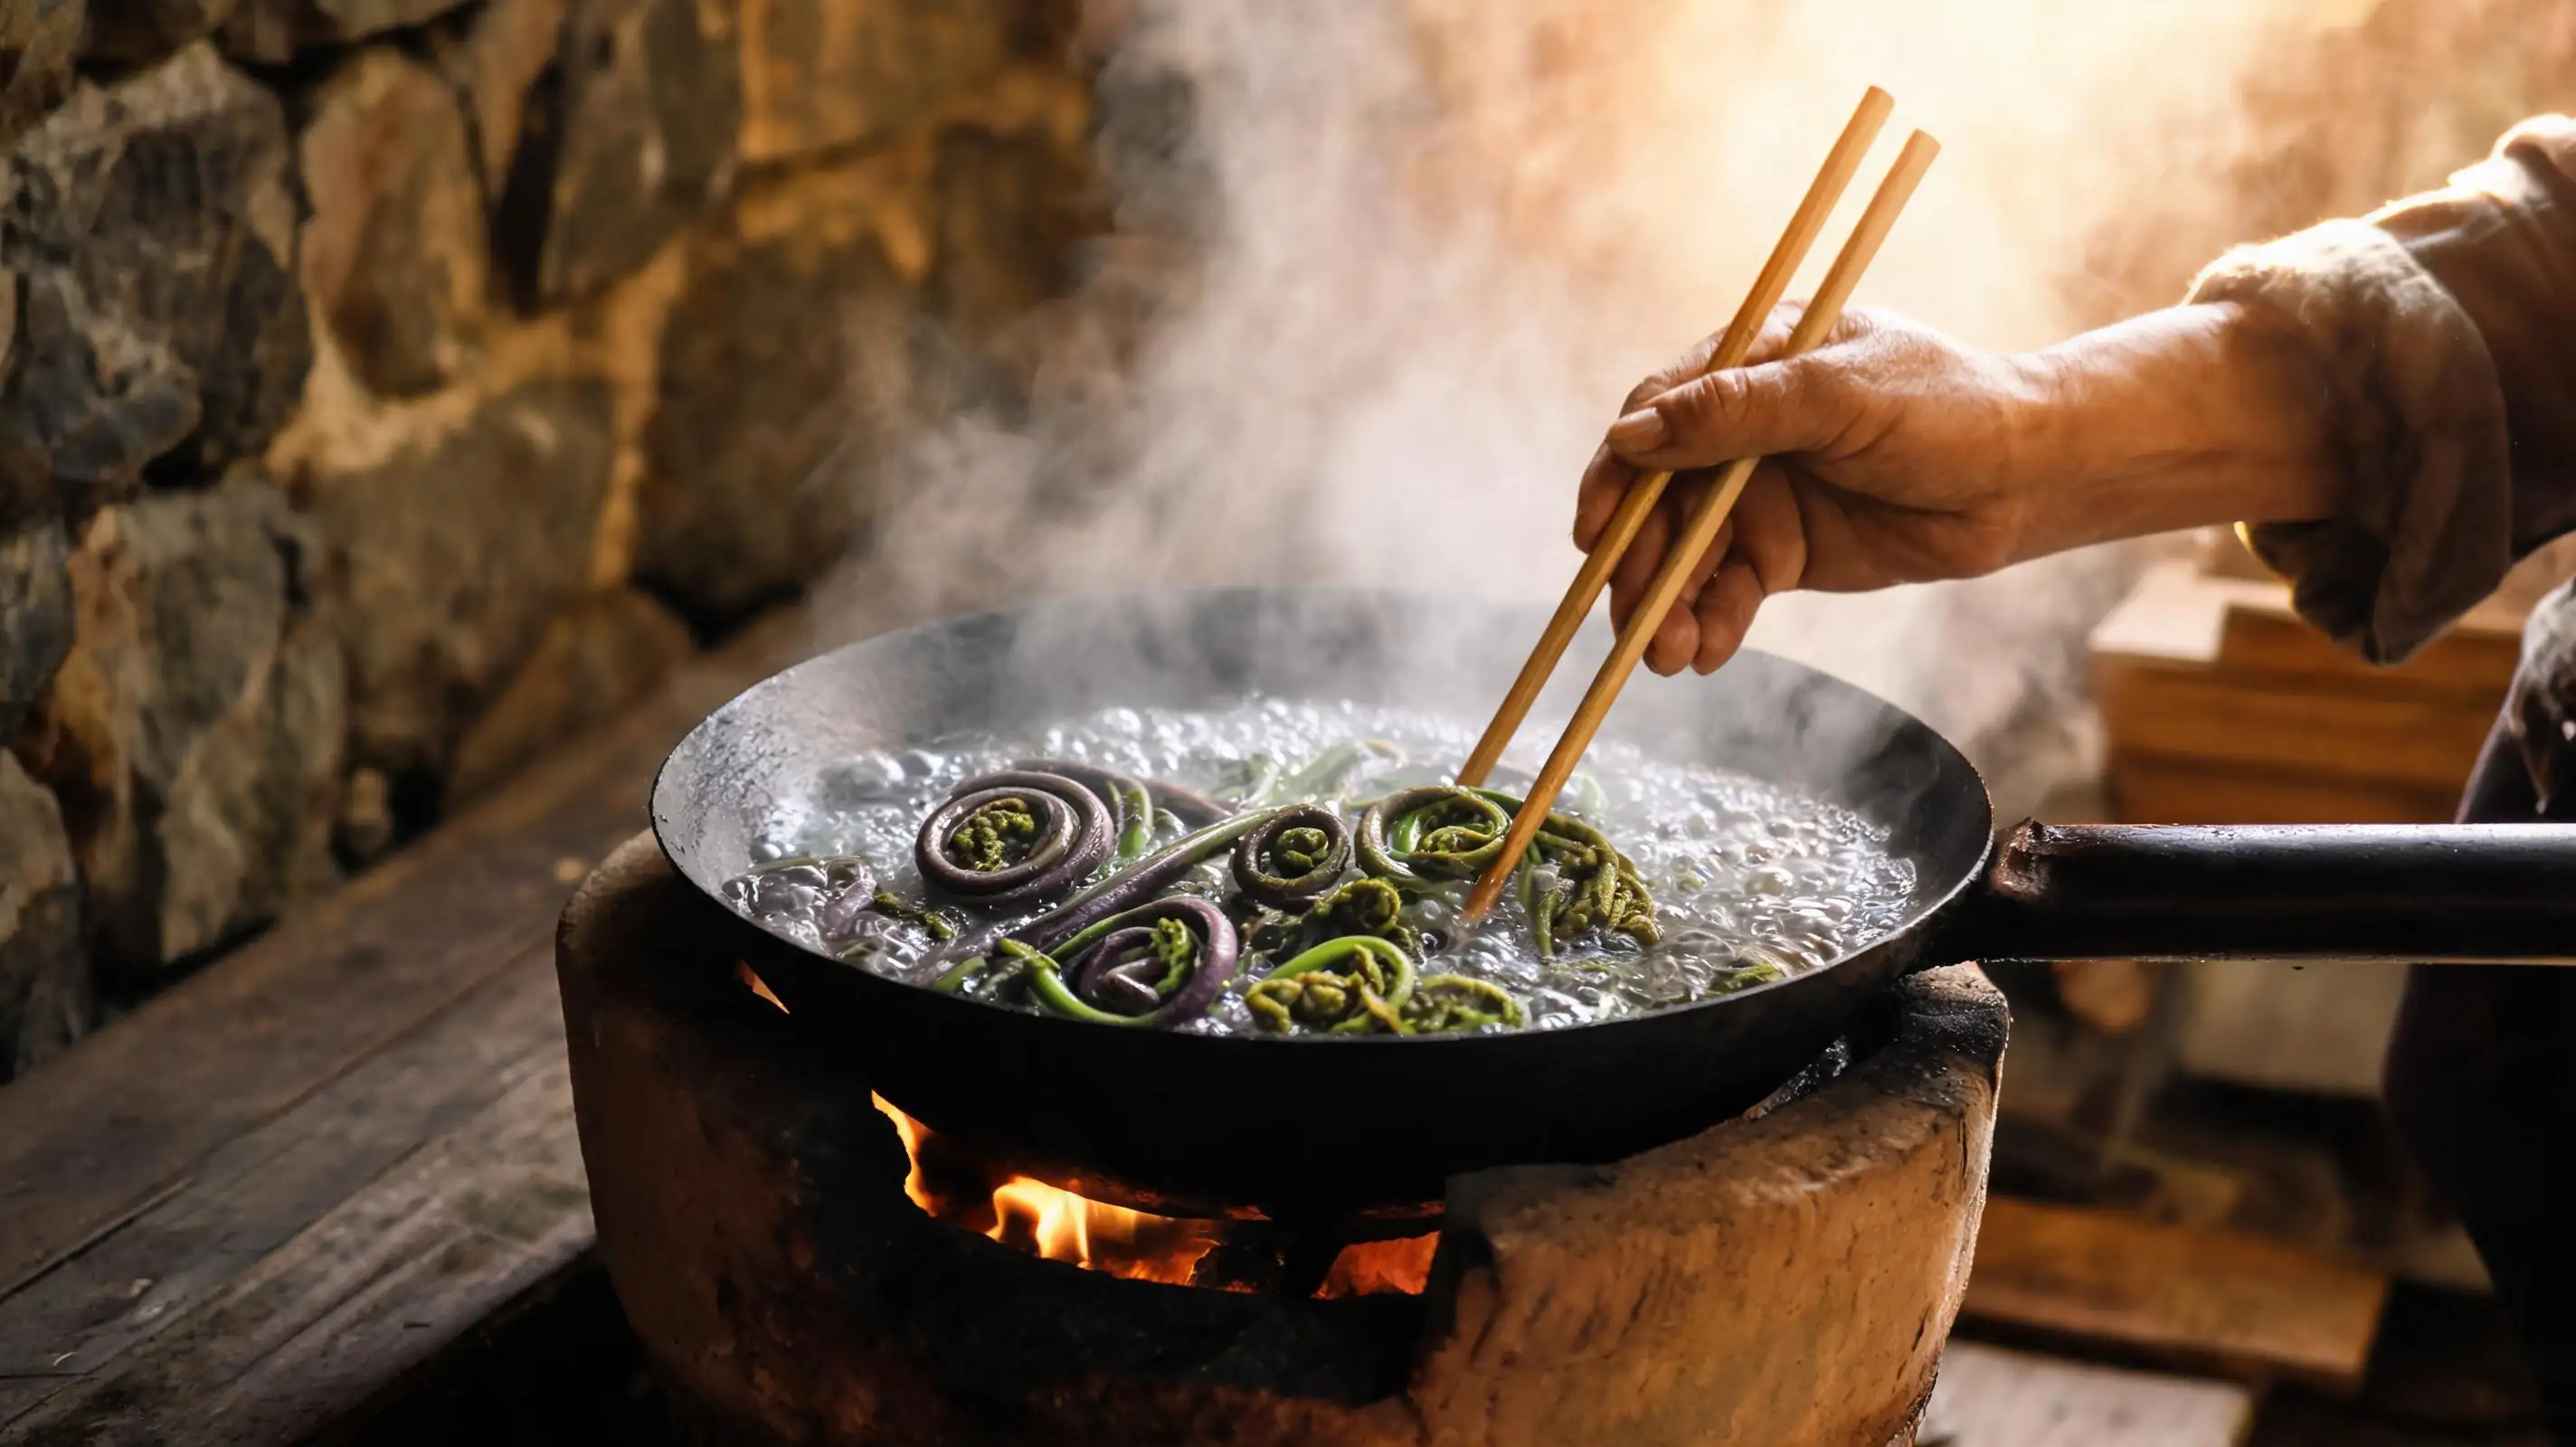
**Bring a large pot to a full rolling boil. Don't rush it.**
Lower the fern in and blanch for **2–3 minutes** — just until the stems shift from purple-green to bright vivid green.
Use chopsticks to keep them submerged. Don't walk away.
**Pull them out the moment the color turns.** Overcooked bracken goes limp and bitter, and loses everything that made it worth picking.
The kitchen filled with steam.
You could smell the green before you could see it.
---
## 📸 4 · The Cold Shock
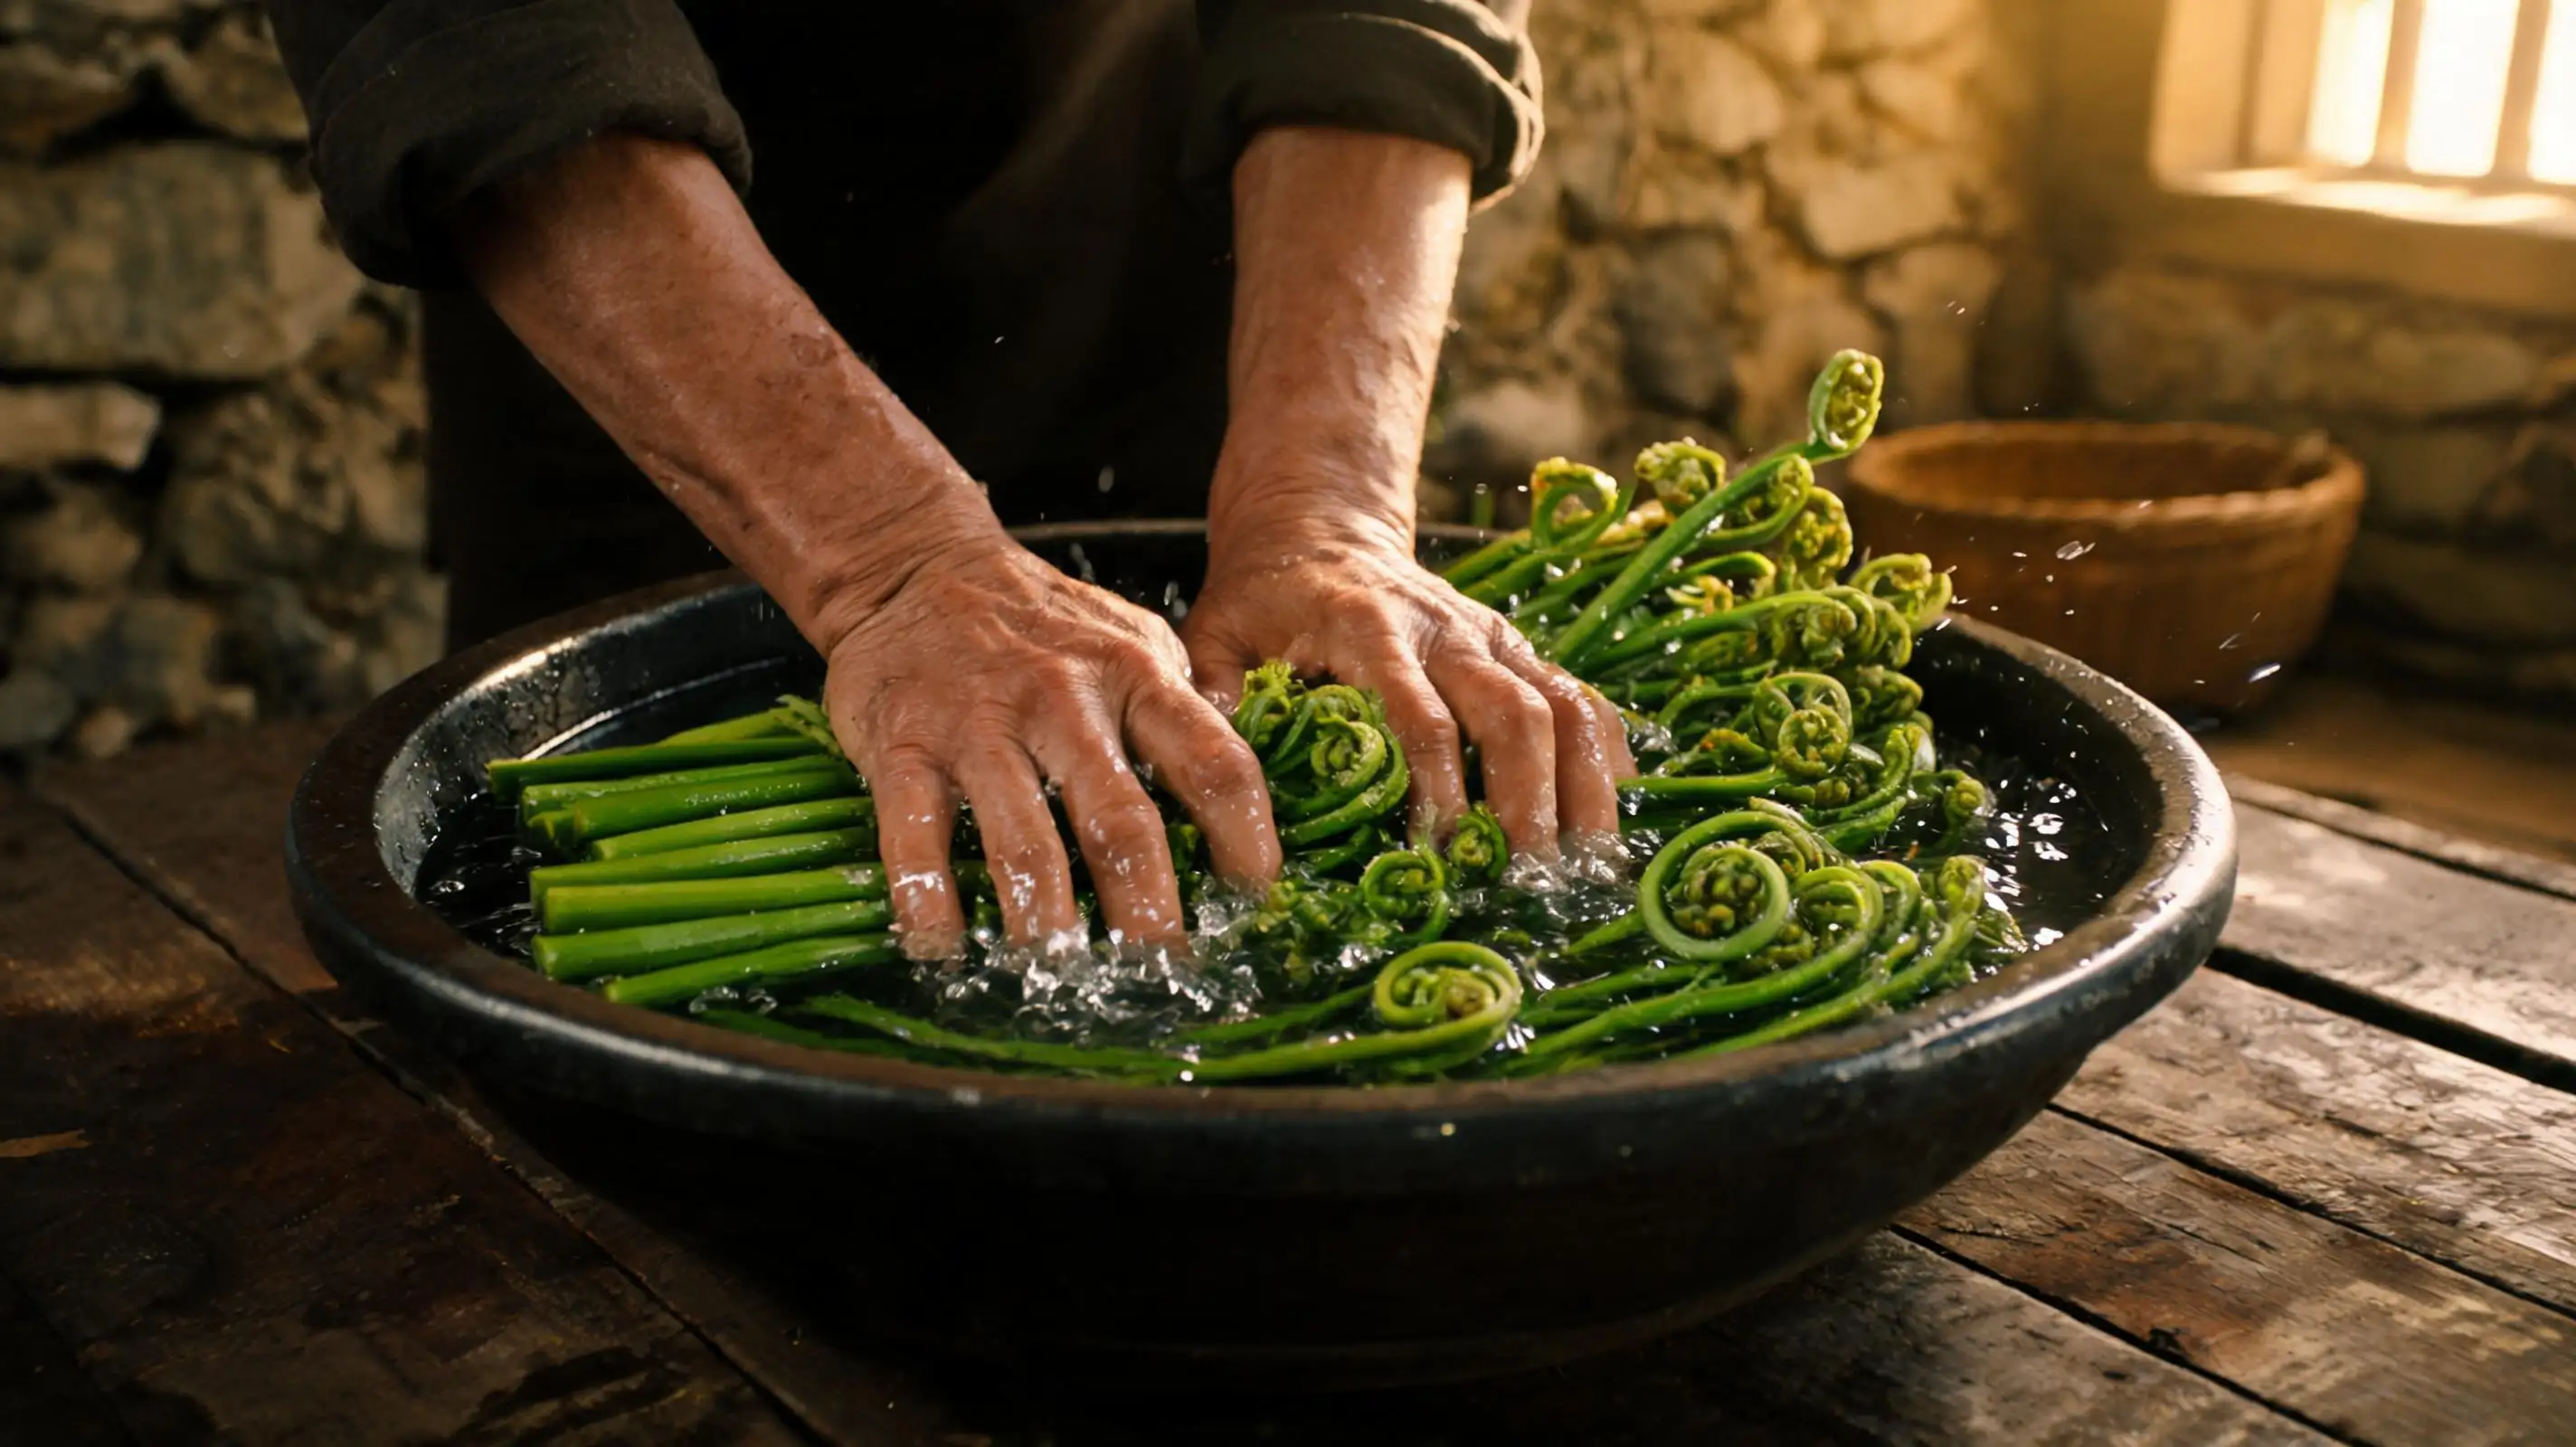
**This step locks the color and the crunch. Don't skip it.**
Transfer the blanched fern immediately into a large basin of cold water.
Press them down to ensure full contact. Hold for 2–3 minutes until completely cooled.
**The cold water stops the cooking instantly** — the vivid green stays vivid, the texture firms up, the flavor stays clean.
No ice. No fridge. Just the coldest water from the stone well.
Same result every time.
---
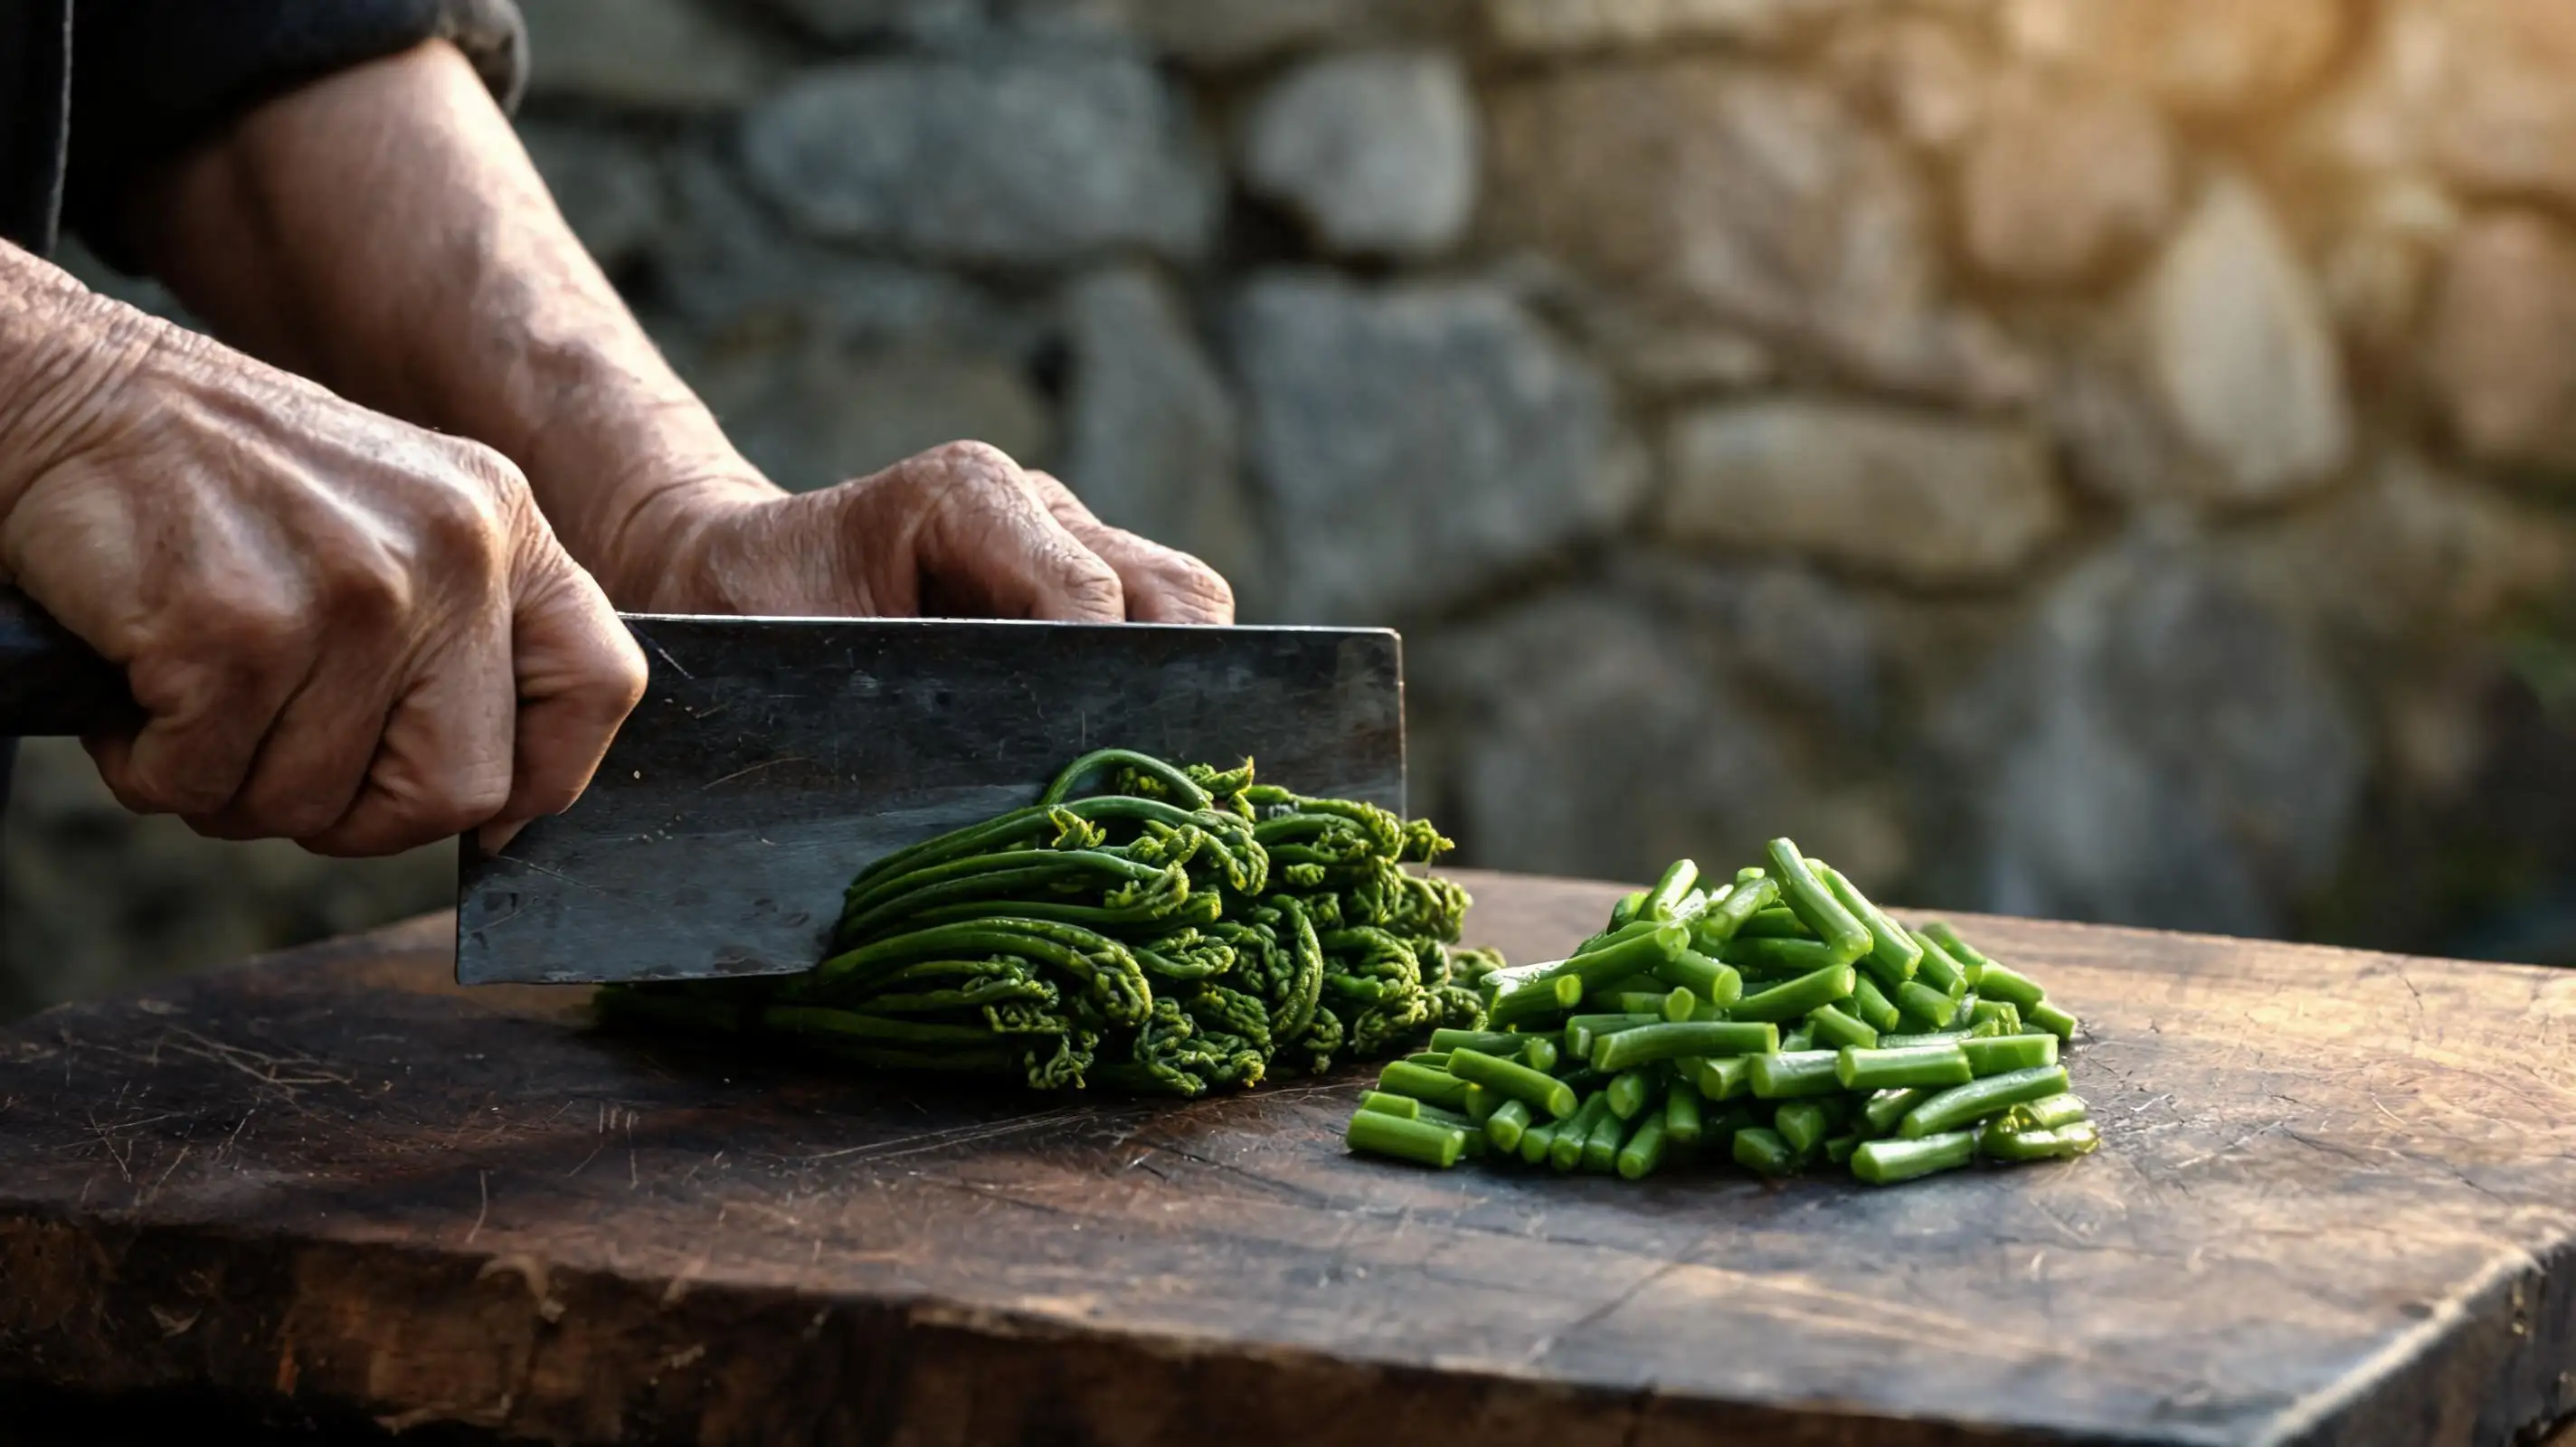
## 📸 5 · The Cut
Shake the fern dry and lay the bundles flat on a heavy wooden chopping board.
**Cut into 4–5 cm segments** with a single clean stroke — don't saw.
Pile the cut pieces neatly to one side.
**Uniform length matters:** even pieces absorb the dressing evenly, and the dish plates cleaner.
One bundle at a time. One stroke per cut.
No rushing in that kitchen.
---
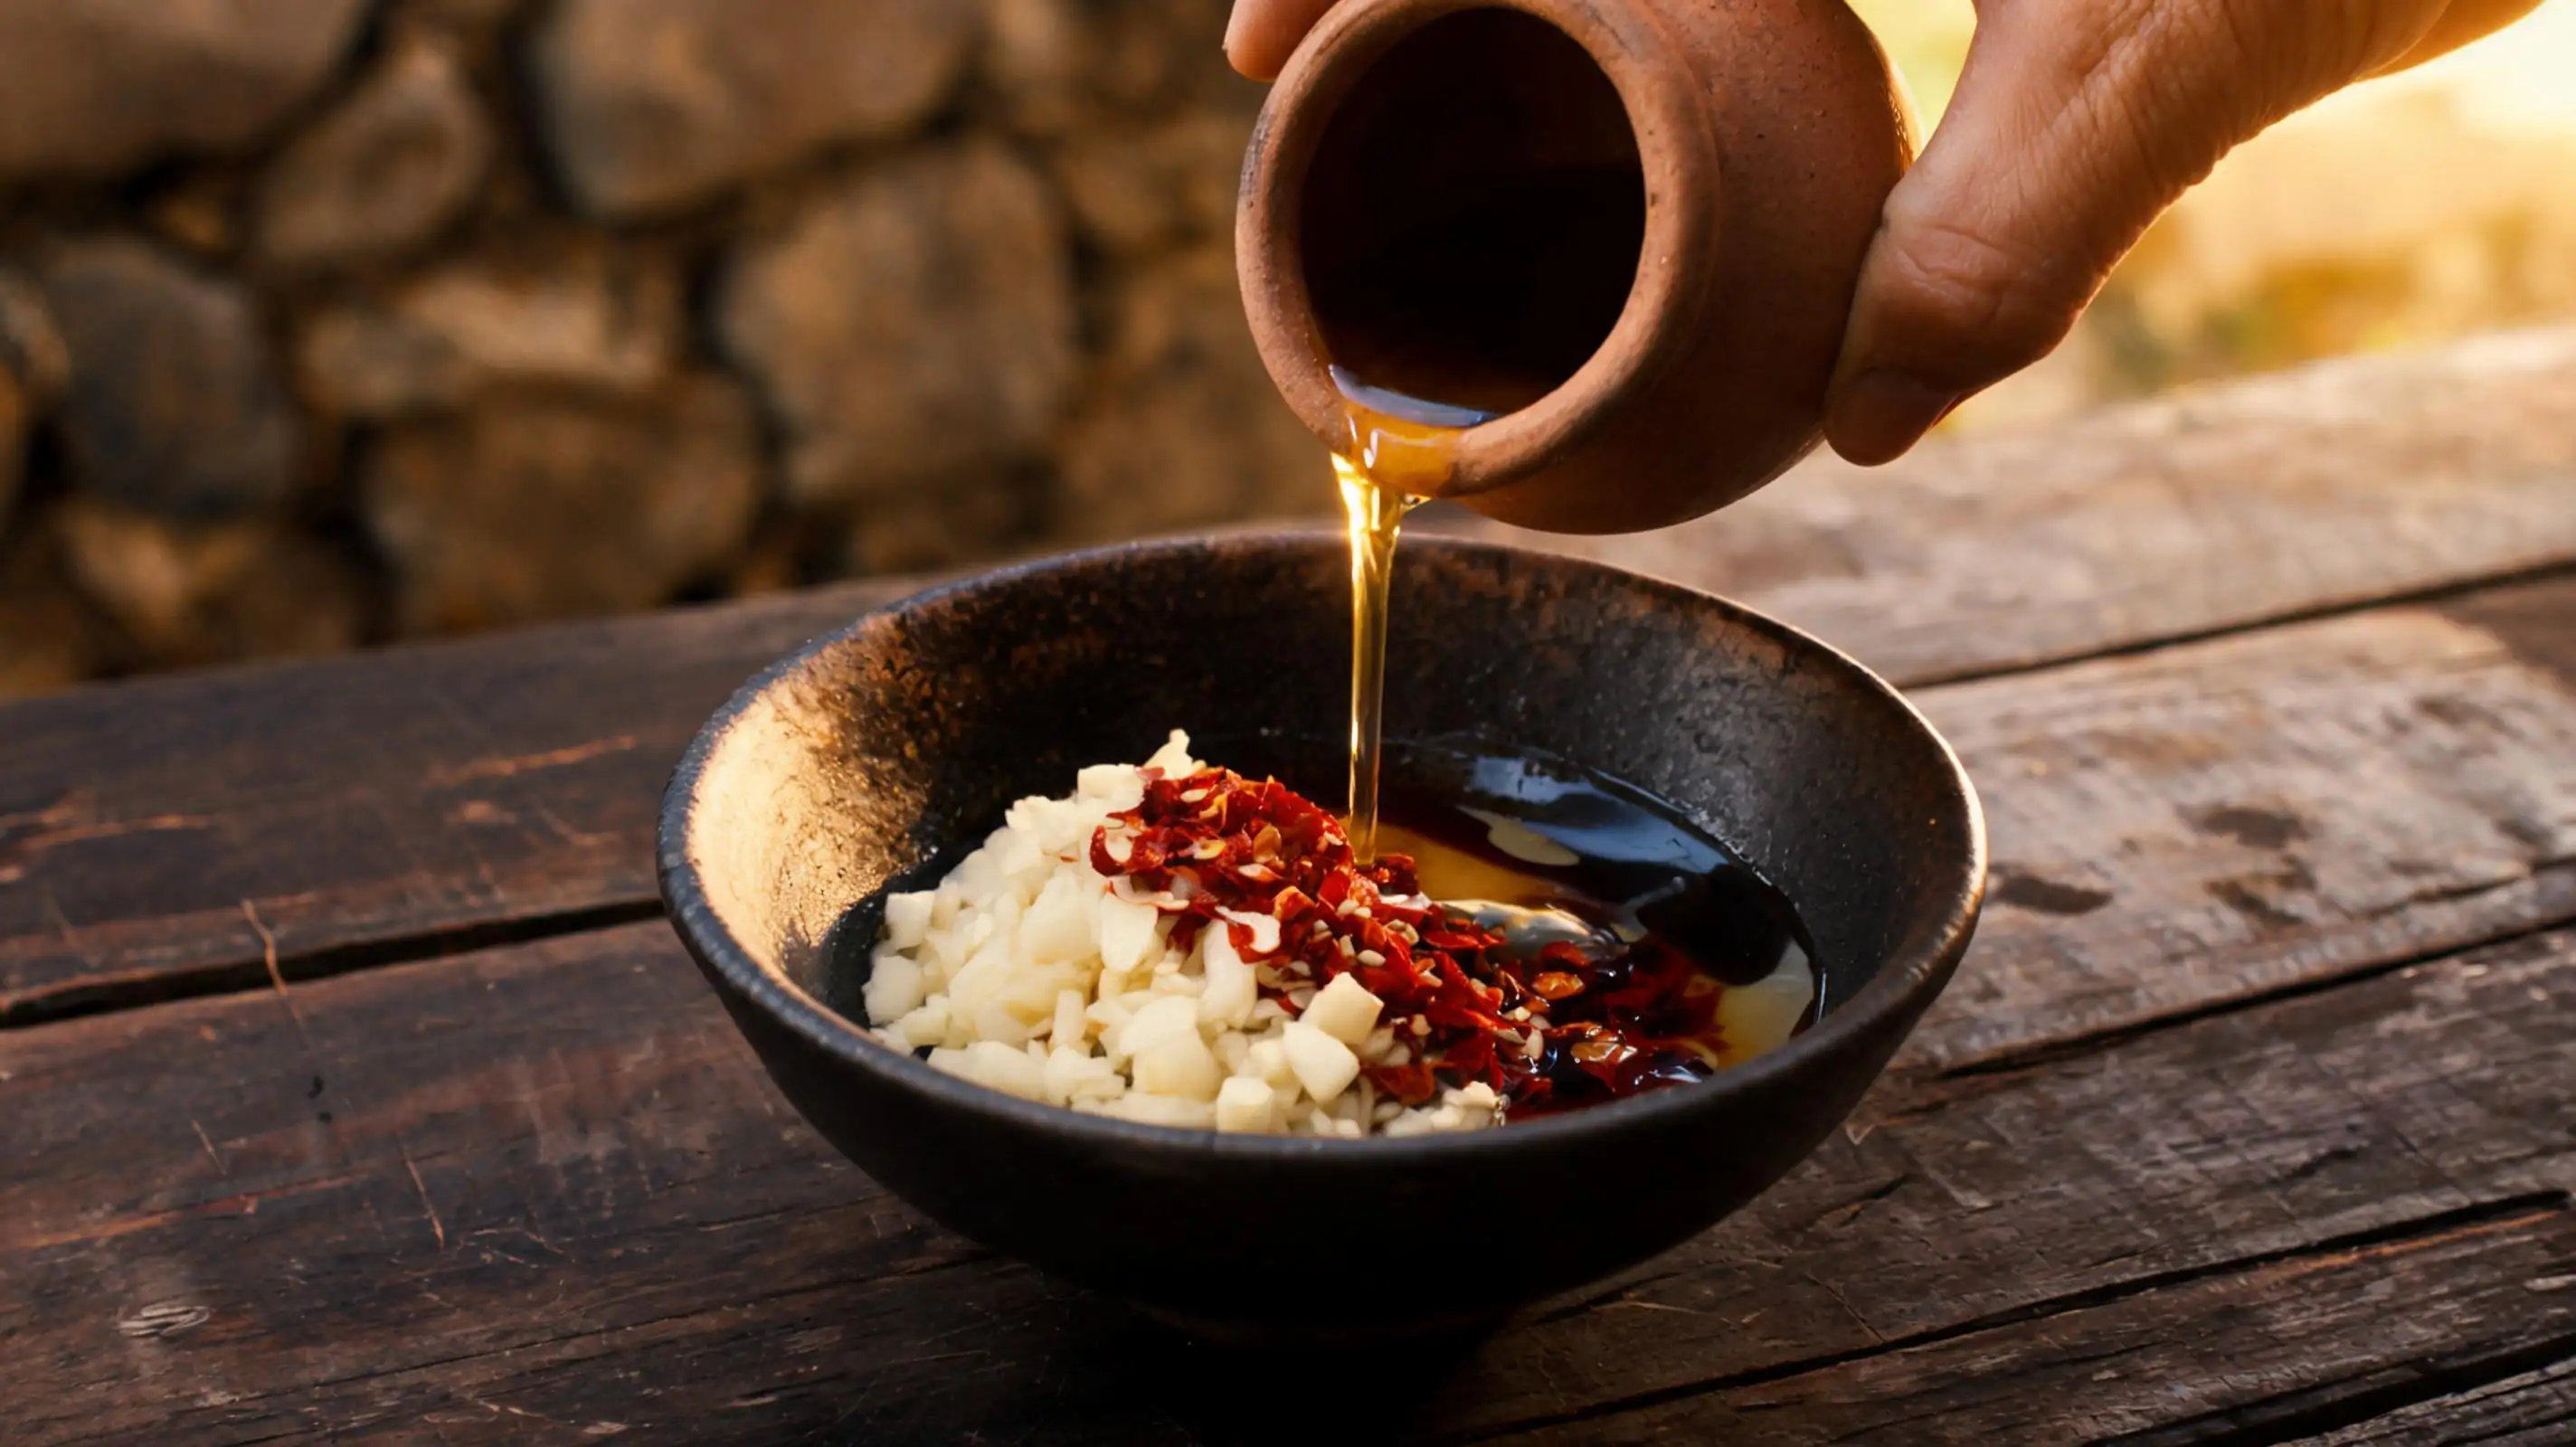
## 📸 6 · The Dressing
**Three ingredients. That's all.**
Into a small dark bowl: **minced garlic + dried red chili flakes + a steady pour of sesame oil.**
Add soy sauce and a splash of rice vinegar.
Stir until the garlic and chili are fully suspended in the oil.
**Taste it before it touches the fern.** The dressing should be sharp, fragrant, and slightly salty on its own —
once it coats the fern and dilutes slightly, that's the level you want.
The sesame oil came from a clay jar on the stone shelf.
She never measured. Neither should you.
---
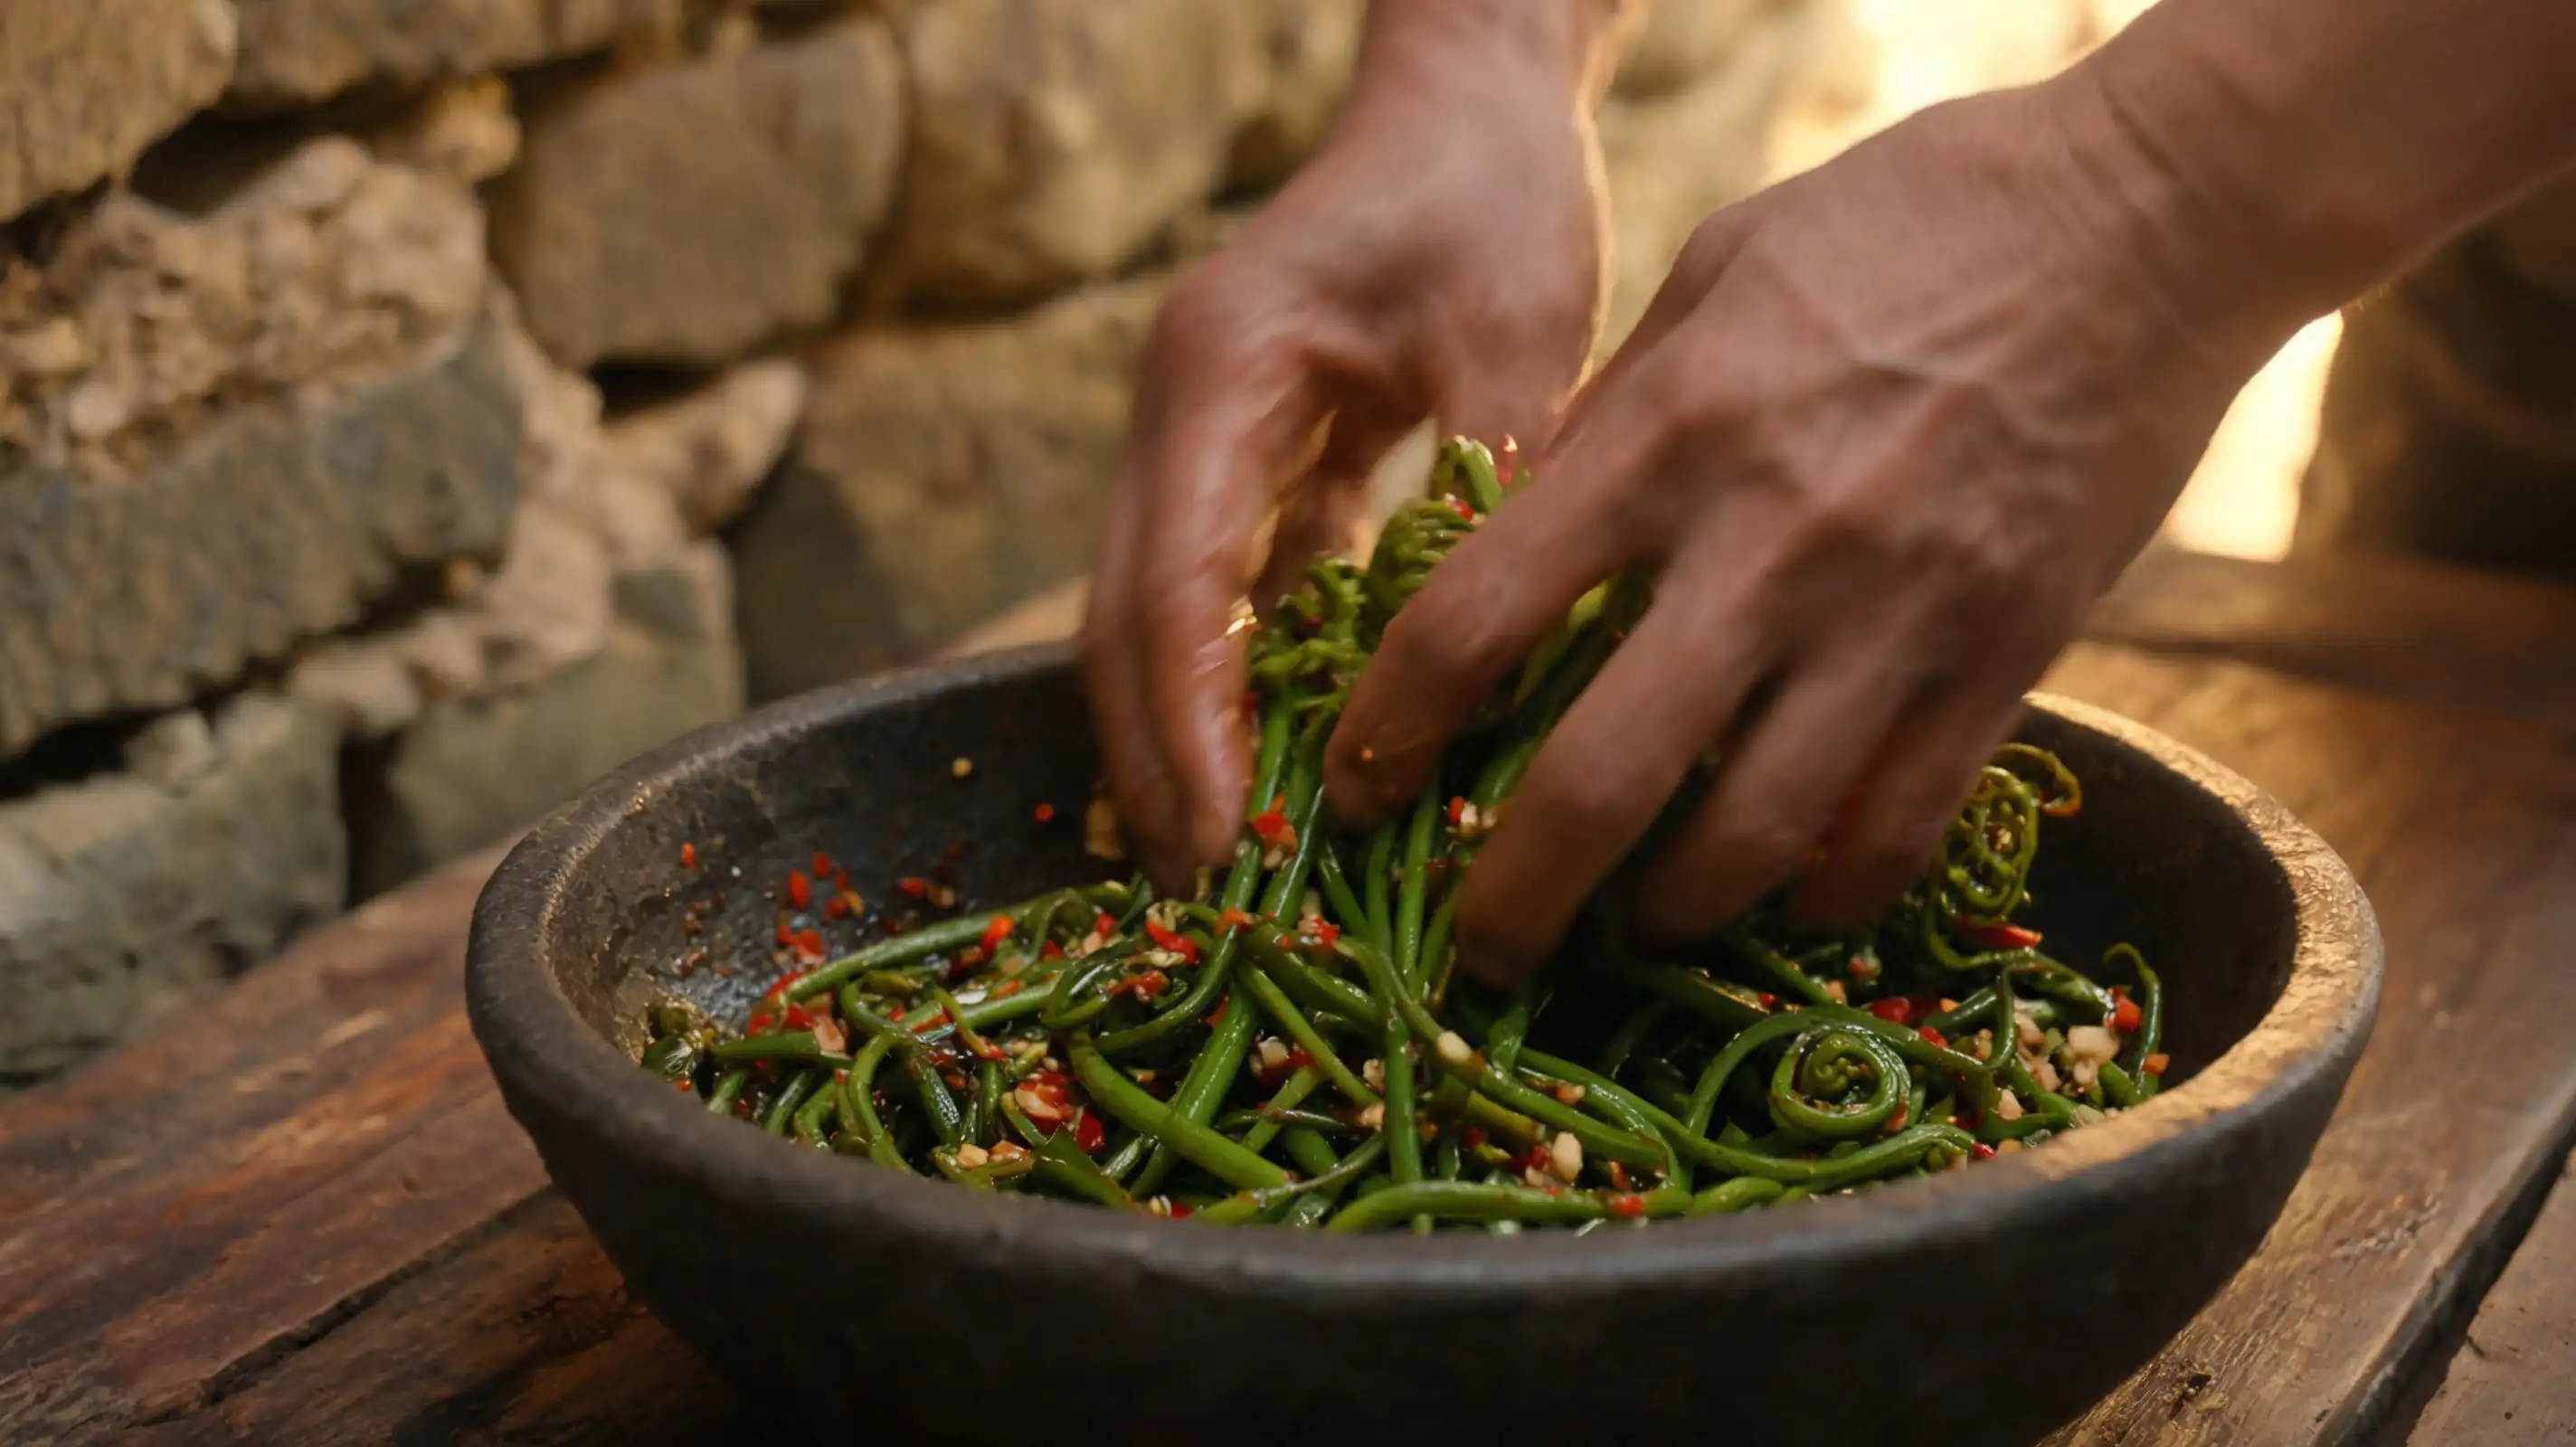
## 📸 7 · The Toss
**Use your hands. Chopsticks won't get into every fold.**
Pour the dressing over the fern segments and **lift, fold, and press** — not stir.
Work the dressing into every piece until each segment glistens.
**Every piece should be coated. No dry spots, no puddles.**
The smell hits you when the garlic meets the fern.
That's the moment you know it's right.
---
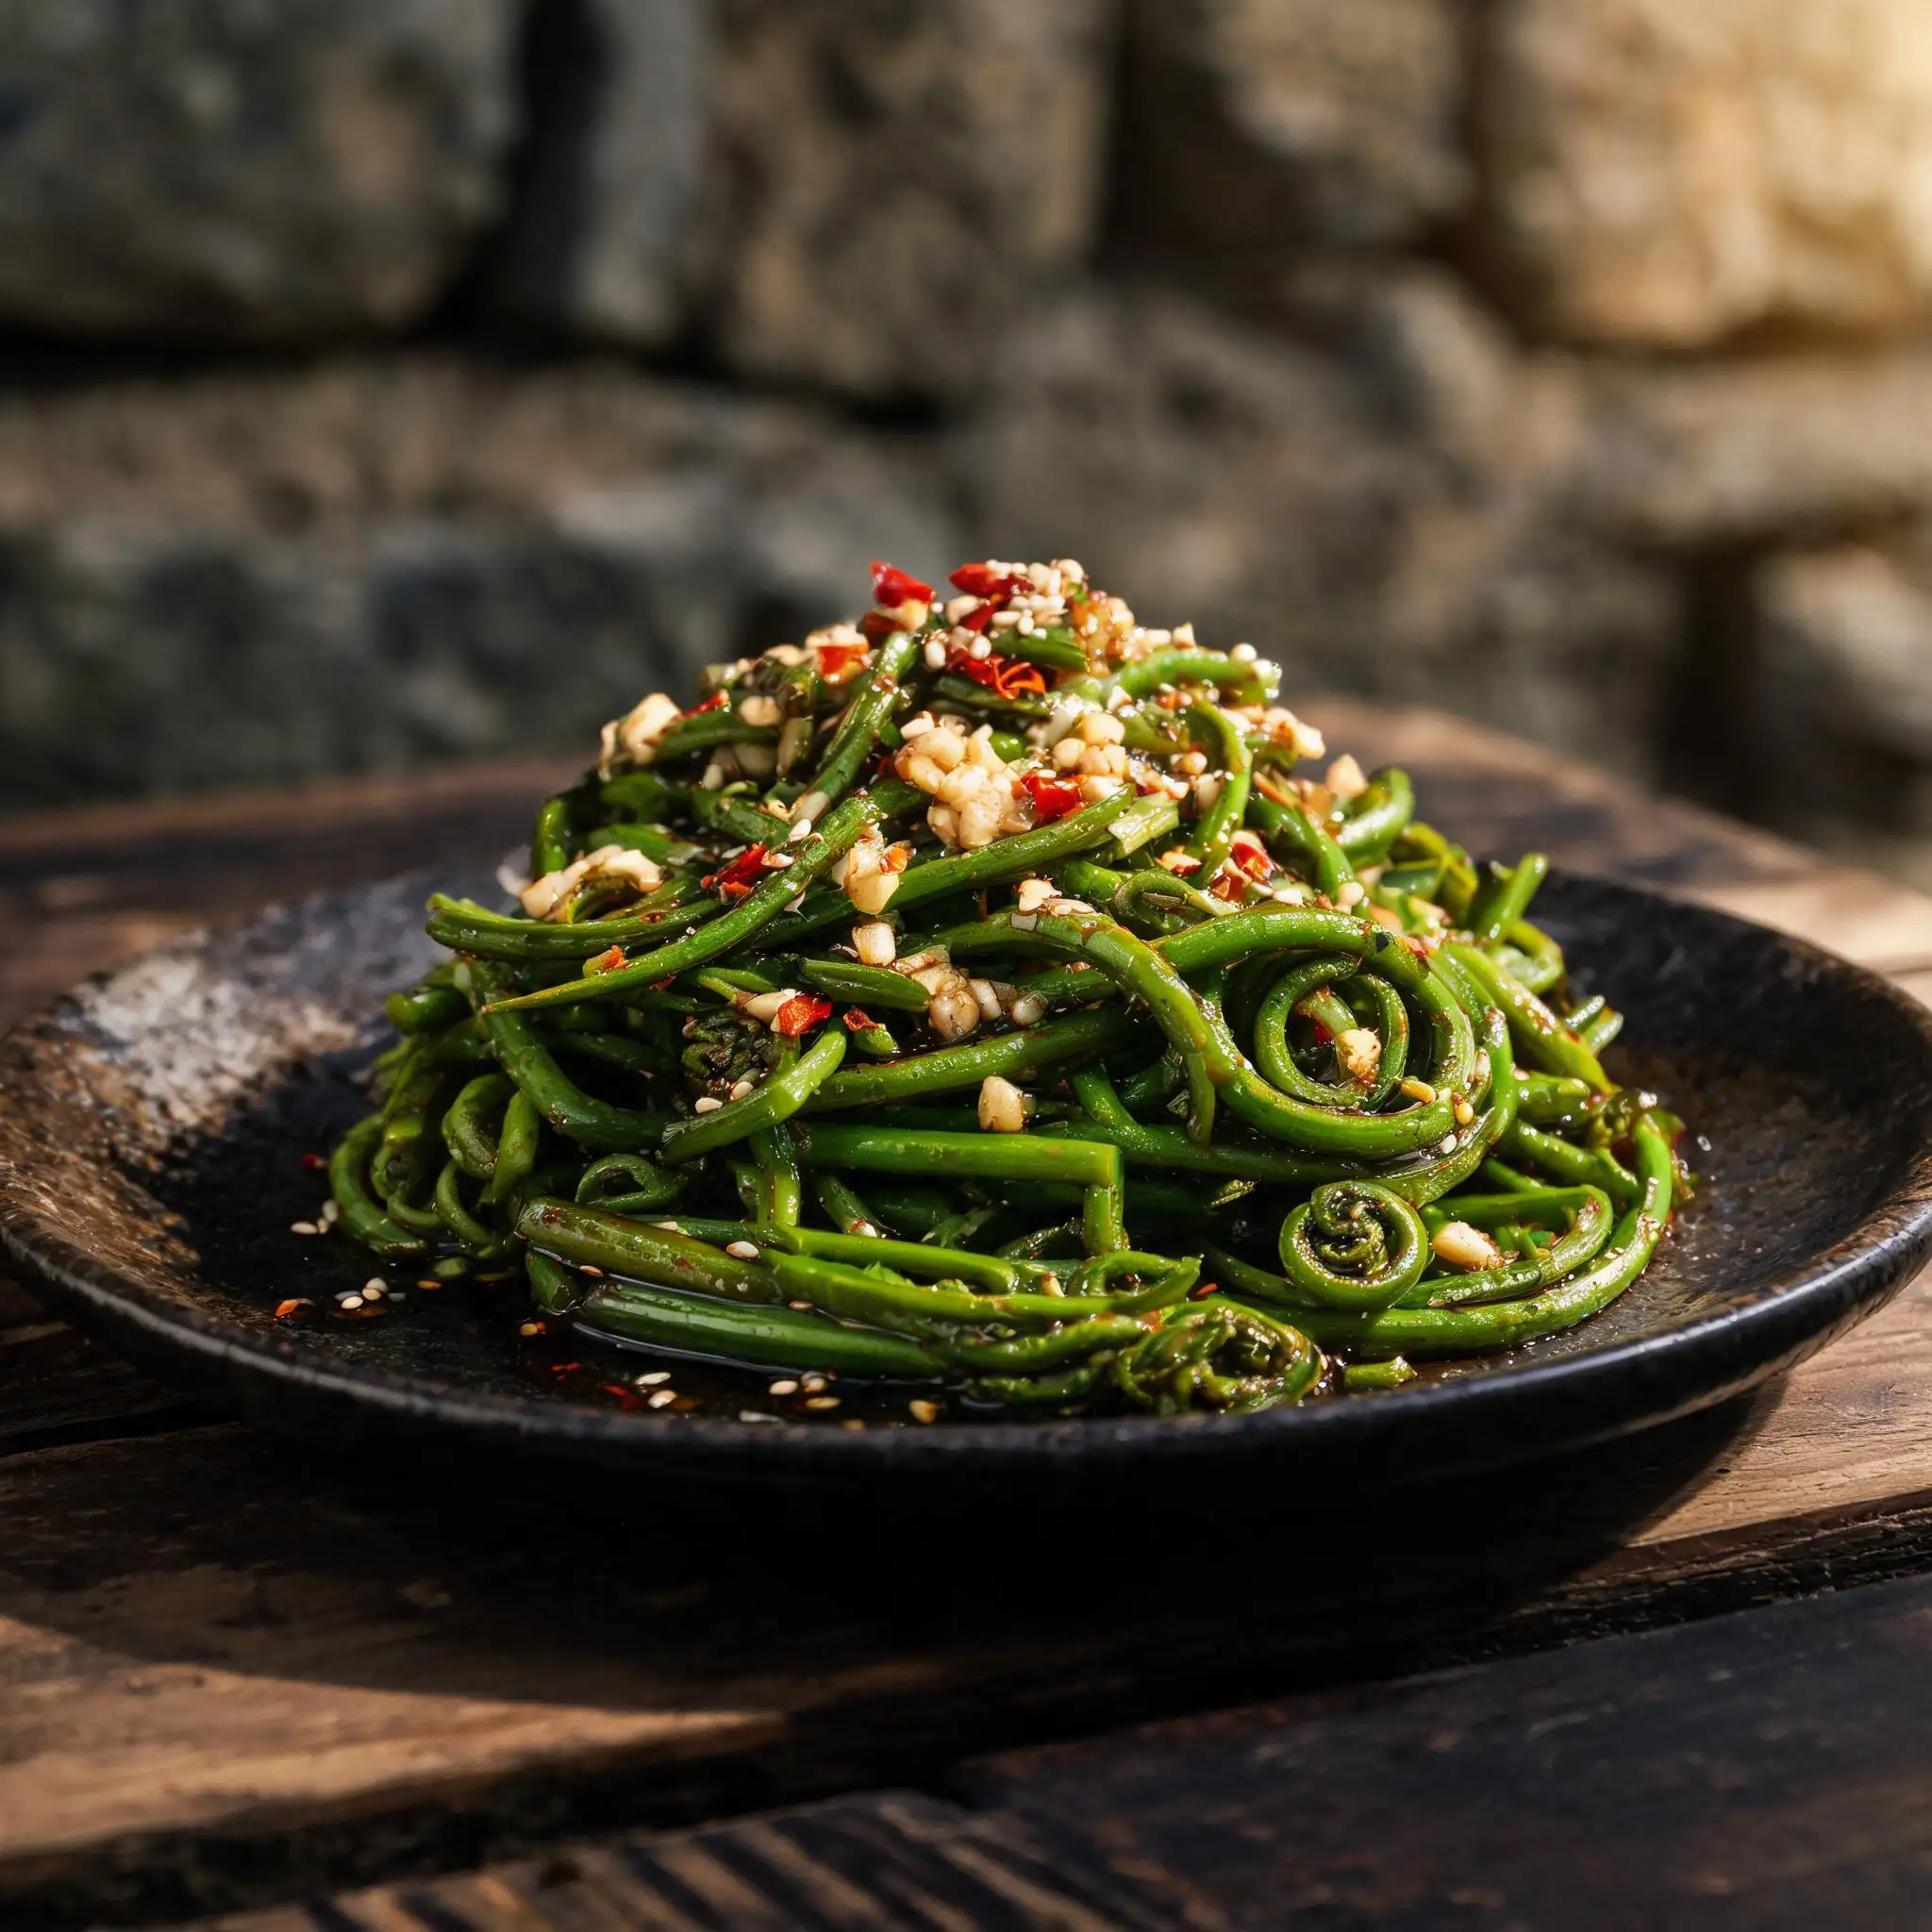
## 📸 8 · The Plate
Pile it high on a dark ceramic plate. A pinch of white sesame seeds over the top.
No garnish. No sauce on the side. Nothing else on the table needs to compete with this.
**The fern should be slick with dressing, deep green, coiled ends still visible at the edges of the pile.**
First bite: cold. Second bite: garlic. Third bite: the clean, slightly bitter mineral finish of wild bracken in spring.
No MSG. No shortcuts.
> No seasoning packet. No shortcut.
> Just wild fern from the hillside, a pot of boiling water,
> and a bowl of garlic, chili, and sesame oil.
> That's the whole recipe.
---
## 📸 1 · The Harvest
Only the tightly coiled fiddlehead tips — **dark purple-green stems, spiral curl unbroken, no more than 20 cm long.**
Snap them off with your thumbnail at the base of the tender shoot.
**Skip anything with a woody stem or fully open fronds.** They won't soften properly, and the texture turns stringy.
We climbed the hillside before breakfast.
The basket wasn't heavy — but the walk back always felt longer.
---
## 📸 2 · The Wash
Bracken fern is covered in fine fuzz. It needs a real wash, not a rinse.
**Run cold water over the fern 2–3 times**, gently rubbing each bundle between your palms to dislodge dirt and debris.
Never use warm water — it wilts the leaves and dulls the color before you even start cooking.
Stop when the water runs completely clear.
Cold well water. Every time.
*You washed them right, or you didn't respect what you picked.*
---
## 📸 3 · The Blanch
**Bring a large pot to a full rolling boil. Don't rush it.**
Lower the fern in and blanch for **2–3 minutes** — just until the stems shift from purple-green to bright vivid green.
Use chopsticks to keep them submerged. Don't walk away.
**Pull them out the moment the color turns.** Overcooked bracken goes limp and bitter, and loses everything that made it worth picking.
The kitchen filled with steam.
You could smell the green before you could see it.
---
## 📸 4 · The Cold Shock
**This step locks the color and the crunch. Don't skip it.**
Transfer the blanched fern immediately into a large basin of cold water.
Press them down to ensure full contact. Hold for 2–3 minutes until completely cooled.
**The cold water stops the cooking instantly** — the vivid green stays vivid, the texture firms up, the flavor stays clean.
No ice. No fridge. Just the coldest water from the stone well.
Same result every time.
---
## 📸 5 · The Cut
Shake the fern dry and lay the bundles flat on a heavy wooden chopping board.
**Cut into 4–5 cm segments** with a single clean stroke — don't saw.
Pile the cut pieces neatly to one side.
**Uniform length matters:** even pieces absorb the dressing evenly, and the dish plates cleaner.
One bundle at a time. One stroke per cut.
No rushing in that kitchen.
---
## 📸 6 · The Dressing
**Three ingredients. That's all.**
Into a small dark bowl: **minced garlic + dried red chili flakes + a steady pour of sesame oil.**
Add soy sauce and a splash of rice vinegar.
Stir until the garlic and chili are fully suspended in the oil.
**Taste it before it touches the fern.** The dressing should be sharp, fragrant, and slightly salty on its own —
once it coats the fern and dilutes slightly, that's the level you want.
The sesame oil came from a clay jar on the stone shelf.
She never measured. Neither should you.
---
## 📸 7 · The Toss
**Use your hands. Chopsticks won't get into every fold.**
Pour the dressing over the fern segments and **lift, fold, and press** — not stir.
Work the dressing into every piece until each segment glistens.
**Every piece should be coated. No dry spots, no puddles.**
The smell hits you when the garlic meets the fern.
That's the moment you know it's right.
---
## 📸 8 · The Plate
Pile it high on a dark ceramic plate. A pinch of white sesame seeds over the top.
No garnish. No sauce on the side. Nothing else on the table needs to compete with this.
**The fern should be slick with dressing, deep green, coiled ends still visible at the edges of the pile.**
First bite: cold. Second bite: garlic. Third bite: the clean, slightly bitter mineral finish of wild bracken in spring.
No MSG. No shortcuts.